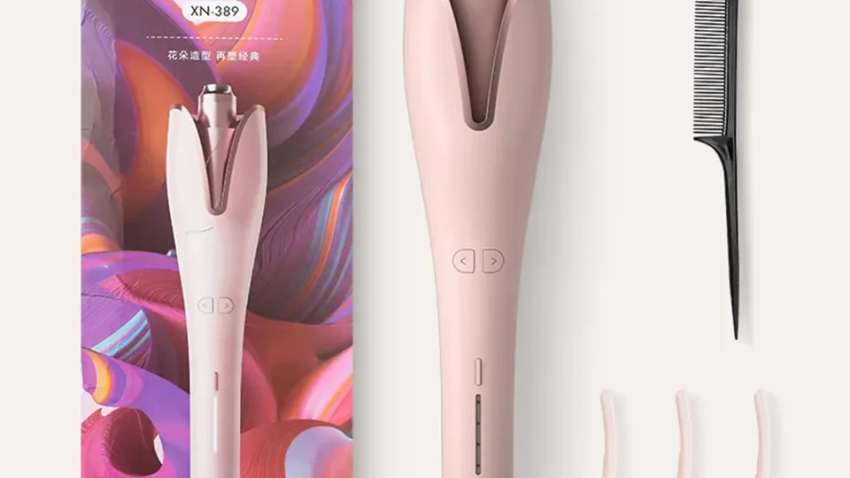
How often should you clean your curling iron?
Introduction
Regularly cleaning your curling iron is essential for maintaining its performance, preventing product buildup, and prolonging its lifespan. Over time, residue from hair products, oils, and heat protectants can accumulate on the barrel and affect the styling capabilities of your curling iron. In this guide, we will discuss the importance of cleaning your curling iron, how often you should clean it, step-by-step cleaning instructions, and tips for safe and effective maintenance.

How often should you clean your curling iron?
I. The Importance of Cleaning
-
Performance and Styling Efficiency:
- A clean curling iron performs more effectively, allowing for smoother hair styling and better curl formation. Clean barrels prevent product residue from clinging to the hair, enhancing the quality and longevity of your curls.
-
Preventing Product Buildup:
- Hair products, including heat protectants, sprays, and styling serums, can leave behind residue on the curling iron’s barrel. This buildup can interfere with heat distribution and potentially lead to uneven styling or damage to your hair.
-
Hygiene and Safety:
- Regular cleaning helps maintain good hygiene, preventing the accumulation of bacteria or other pathogens on the barrel or grip of the curling iron. This is particularly important if you share your styling tools with others.
II. Determining Cleaning Frequency
-
Usage and Product Buildup:
- The frequency at which you should clean your curling iron depends on how often you use it and the amount of product buildup you encounter. As a general guideline, aim to clean it every few weeks or whenever you notice a significant buildup of residues.
-
Visual Inspection:
- Regularly inspect your curling iron for any visible product buildup or residue. If you see any on the barrel or grips, it’s a clear indication that it’s time for cleaning.
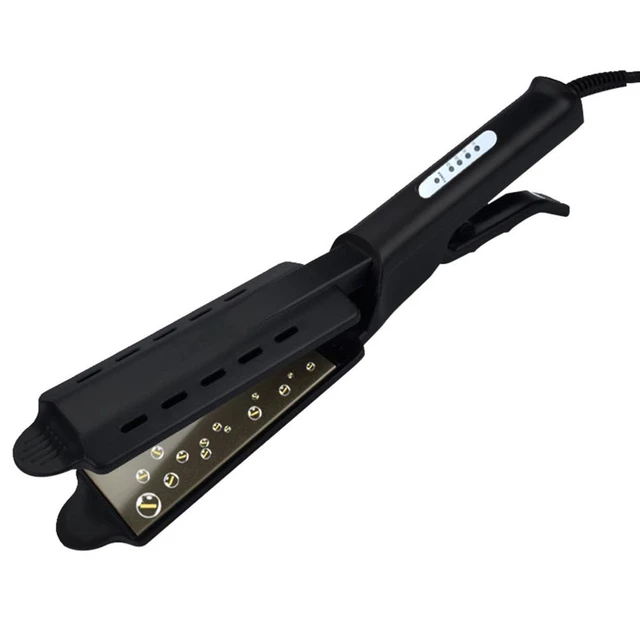
III. Step-by-Step Cleaning Process
-
Unplug and Allow to Cool:
- Before cleaning your curling iron, ensure that it is unplugged and has had sufficient time to cool down. Cleaning a hot or warm curling iron can be dangerous and increase the risk of burns.
-
Wipe with a Damp Cloth:
- Take a soft, lint-free cloth or sponge and dampen it with warm water. Gently wipe the barrel and grips of the curling iron to remove any loose debris or residue. Be cautious not to use excessive force or scrub too vigorously.
-
Stubborn Residue Removal:
- For more stubborn residue, dip the cloth or sponge in a small amount of rubbing alcohol or vinegar. Again, gently wipe the affected areas, using light pressure. Avoid excess moisture, as it can seep into the curling iron and potentially damage electrical components.
-
Cleaning the Barrel Grooves:
- If there is residue in the barrel grooves or any hard-to-reach areas, use a cotton swab or an old toothbrush lightly dipped in rubbing alcohol or vinegar. Carefully scrub the grooves to dislodge any buildup, ensuring thorough cleaning.
-
Rinse with a Damp Cloth:
- After cleaning, dampen a clean cloth with warm water and wipe the curling iron barrel and grips to remove any cleaning agents. This step helps ensure that no residue is left on the surface of the iron.
-
Dry Thoroughly:
- Before storing or using your curling iron again, ensure that it is completely dry. Use a dry cloth or towel to wipe down the barrel and grips. Allow the curling iron to air dry in a cool, well-ventilated area to ensure there is no moisture left.
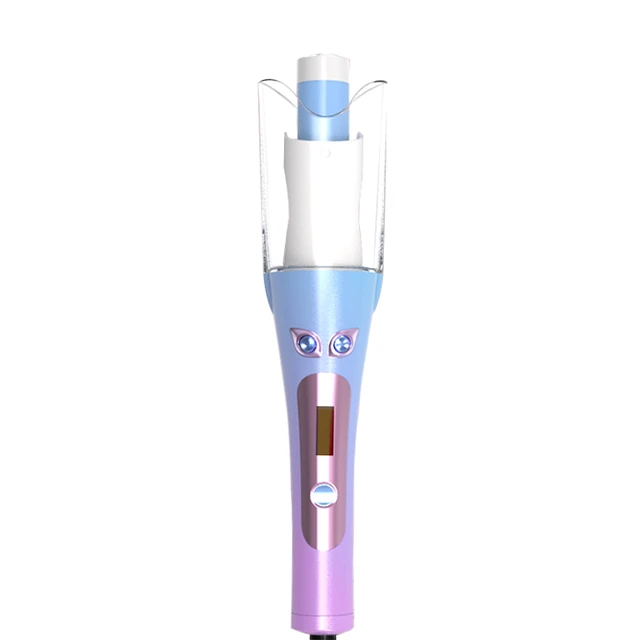
IV. Additional Maintenance Tips
-
Preventive Measures:
- To minimize product buildup, consider using heat protectant sprays or serums that are specifically formulated to minimize residue on styling tools. These products create a protective barrier between your hair and the curling iron, reducing the amount of residue left behind.
-
Protect the Barrel:
- To further protect the barrel of your curling iron, consider using a heat-resistant mat or sleeve when setting it down during styling sessions. This will prevent any accidental contact with surfaces that could transfer dirt or debris onto the barrel.
-
Regular Inspection:
- Periodically check the condition of the cord, plug, and electrical components of your curling iron. If you notice any signs of fraying, cracking, or damage, discontinue use and have it repaired or replaced immediately to ensure your safety.
-
Storage Considerations:
- Proper storage of your curling iron can help maintain its cleanliness and prevent tangling of the cord. Allow it to cool completely before wrapping the cord loosely around the appliance and storing it in a safe, dry location.
V. Safety Precautions
-
Avoid Submerging in Water:
- Never submerge your curling iron in water or expose it to excessive moisture. Doing so can damage the electrical components and pose a risk of electric shock.
-
Be Gentle:
- When cleaning your curling iron, avoid using abrasive cleaners, harsh chemicals, or rough materials that can scratch or damage the barrel or grips.
-
Mind the Temperature:
- Always clean your curling iron when it is cool to the touch. Attempting to clean a hot or warm iron can cause burns or accidental injury.
-
Discontinue Use if Damaged:
- If you notice any signs of damage or malfunction, such as frayed cords, loose parts, or electrical issues, stop using the curling iron immediately. Have it repaired by a professional or replace it to ensure your safety.
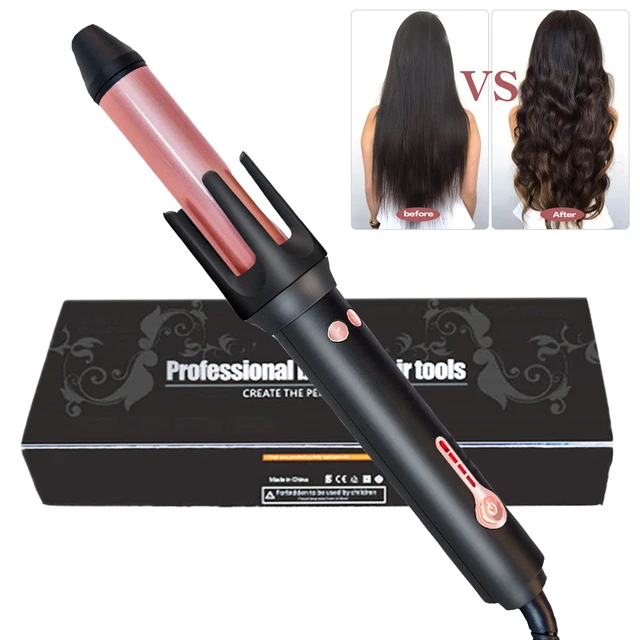
VII. Advanced Cleaning Methods
-
Deep Cleaning with Baking Soda:
- If your curling iron has stubborn residue or built-up grime, you can perform a deep cleaning with baking soda. Create a paste by mixing baking soda with a small amount of water until it forms a thick consistency. Apply the paste to the barrel and grips of the curling iron, gently scrubbing with a soft cloth or toothbrush. Rinse thoroughly with warm water and dry it completely.
-
Removing Sticky Residue with Rubbing Alcohol or Acetone:
- When dealing with sticky residue or adhesive left behind by stickers or labels on the curling iron, rubbing alcohol or acetone can be effective solutions. Apply a small amount to a cloth or cotton pad and gently rub the affected areas until the residue is removed. Rinse with warm water and dry thoroughly.
-
Cleaning Ceramic or Tourmaline Coated Barrels:
- If your curling iron has a ceramic or tourmaline-coated barrel, be cautious when cleaning to avoid scratching or damaging the coating. Use a soft cloth or sponge dampened with warm water to wipe the barrel, avoiding harsh chemicals or abrasive materials.
VIII. Troubleshooting and Maintenance Tips
-
Removing Stubborn Stains:
- In case you encounter stubborn stains that are difficult to remove, try using a bit of nail polish remover or a mixture of baking soda and hydrogen peroxide. Apply a small amount to a cloth or cotton pad and gently rub the stained area, then rinse with warm water and dry thoroughly.
-
Regularly Inspect and Replace Parts:
- Regularly check the condition of your curling iron, including the cord, plug, and any removable parts. If you notice any signs of wear and tear, such as a frayed cord or loose connection, have them repaired or replaced by a professional to ensure safe and effective operation.
VI. Conclusion: Long-Term Performance and Cleanliness
Regularly cleaning your curling iron is crucial for maintaining its performance, preventing product buildup, and ensuring its longevity. By incorporating routine cleaning into your hair care routine, you can enjoy optimal styling results while promoting good hygiene and safety.
To determine the cleaning frequency, consider usage, visual inspection, and the accumulation of product residue. Follow the step-by-step cleaning process outlined, ensuring that you unplug, cool down, wipe, and dry your curling iron properly. Implement preventive measures, protect the barrel, and perform regular inspections to identify any potential issues.
By prioritizing the cleanliness and maintenance of your curling iron, you can continue to achieve flawless curls, prolong the life of your styling tool, and ensure your safety during every styling session.


