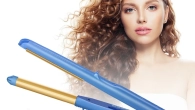


How to Use a Curling Iron with a Clamp: A Guide
Introduction:
Mastering the art of curling with a clamp
Using a curling iron with a clamp is a popular method for creating beautiful, long-lasting curls. However, it can be intimidating for beginners or those unfamiliar with the process. This comprehensive guide will take you through the step-by-step process of using a curling iron with a clamp, ensuring that you can achieve gorgeous curls with confidence. From prepping your hair to mastering the technique, this guide covers all the essentials.
How to Use a Curling Iron with a Clamp: A Step-by-Step Guide
-
Preparing your hair for curling
a. Wash and dry: Start by washing and drying your hair thoroughly. It’s best to use a heat protectant spray or serum to minimize heat damage from the curling iron.
b. Section your hair: Divide your hair into manageable sections using hair clips or ties. This makes the curling process more organized and ensures that each section gets equal attention.
c. Apply a styling product: Before curling, apply a lightweight styling product such as a mousse or a heat-activated styling spray. This helps to add texture, hold, and protect your curls.
-
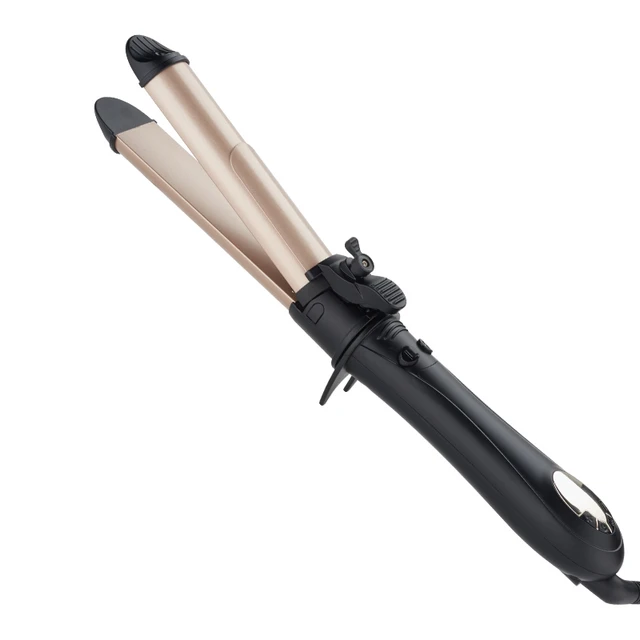
Setting up the curling iron
a. Heat the curling iron: Plug in your curling iron and allow it to heat up to the desired temperature. The appropriate temperature depends on your hair type and texture. Fine hair typically requires lower heat settings, while coarser hair may need higher temperatures.
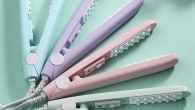
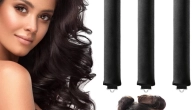
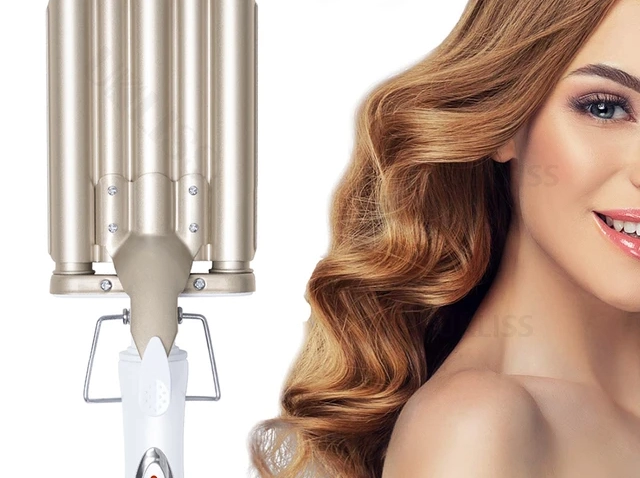
b. Select the barrel size: Choose a barrel size that suits the type of curls you want to achieve. Smaller barrels create tighter curls, while larger barrels create looser waves.
-
Technique for curling with a clamp
a. Start with a section: Take a small section of hair, approximately one to two inches wide, and hold it taut between your fingers.
b. Clamp the hair: Position the curling iron with the clamp open near the root of the section. Close the clamp firmly around the hair, securing it in place.
c. Wrap the hair: Twist the curling iron downward, away from your face, until the entire section of hair is wrapped around the barrel. Be careful not to overlap the hair or leave any gaps.
d. Hold and release: Hold the curl for about 8-10 seconds, adjusting the timing as needed depending on your hair type and desired curl intensity. Release the clamp gently to free the curled hair.
-
Curling the rest of your hair
a. Repeat the process: Continue curling the remaining sections of your hair, working your way around your head. Remember to alternate the direction of the curls for a more natural and voluminous look.
b. Vary the sizes: For a more textured result, consider using different barrel sizes as you work through your hair. This creates dimension and adds interest to your curls.
-
Finishing touches
a. Let the curls cool: Allow the curls to cool completely before touching or styling. This helps to set the curl and ensure it lasts longer.
b. Finger-comb the curls: Once the curls have cooled, gently run your fingers through your hair to loosen and separate the curls, creating a more relaxed, tousled look.
c. Set with hairspray: Apply a light mist of hairspray to hold the curls in place and provide additional longevity.
-
Tips for achieving the best results
a. Take small sections: Working with smaller sections of hair allows for tighter, more defined curls. If you prefer looser waves, opt for larger sections.
b. Avoid excessive heat: Using too much heat can damage your hair and cause your curls to fall out quickly. Find the right temperature setting that works for your hair without causing excessive damage.
c. Practice makes perfect: Don’t get discouraged if you don’t achieve the desired results right away. Curling with a clamp may take some practice to master, so keep practicing and experimenting with different techniques.
d. Protect your hair: Always use a heat protectant spray or serum before curling to shield your hair from heat damage.
e. Let the curls cool completely: Allowing the curls to cool down before touching or styling helps them set and ensures they last longer.
f. Consider the direction: Altering the curling direction adds volume and a more natural appearance. Curling some sections towards your face and others away creates a balanced look.

-
Maintenance and safety tips
a. Cleaning the curling iron: Always ensure that the curling iron is unplugged and completely cool before cleaning. Use a damp cloth or a cotton pad soaked in rubbing alcohol to wipe away any product buildup or residue from the barrel. Avoid submerging the iron in water.
b. Storing safely: Once you’ve finished using the curling iron, allow it to cool completely, and then carefully wrap the cord around the base. Store the curling iron in a cool, dry place to protect it from damage and keep it out of reach of children.
c. Protecting your hair from heat damage: While using a curling iron, it’s important to protect your hair from excessive heat. Use a heat protectant spray or serum before styling to minimize damage and maintain the health of your hair.
d. Avoid excessive heat exposure: Limit the amount of time the curling iron is in direct contact with your hair to prevent heat damage. If you find that your hair is becoming dry or brittle, consider using a lower heat setting or reducing the amount of time the iron touches your hair.
e. Avoid touching the hot barrel: Be cautious when working with a heated curling iron. Never touch the hot barrel directly as it can cause burns. Use the clamp and handle to maneuver the iron and wear a heat-resistant styling glove if needed.
f. Regularly check the curling iron: Inspect the curling iron regularly for any signs of wear or damage. Look for frayed cords, loose or damaged parts, or malfunctioning temperature controls. If you notice any issues, discontinue use and have the curling iron repaired or replaced.
Conclusion: Flaunting gorgeous curls with confidence
Using a curling iron with a clamp is an effective way to achieve beautiful curls without the need for professional help. By following the step-by-step guide provided, you can confidently curl your hair while preserving its health and vitality. Remember to prepare your hair properly, select the appropriate barrel size, and master the technique of curling with a clamp. With practice and patience, you’ll be able to create stunning curls that enhance your overall hairstyle and boost your confidence. So, go ahead and embrace the versatility and beauty of curly hair with your newfound curling iron skills.