


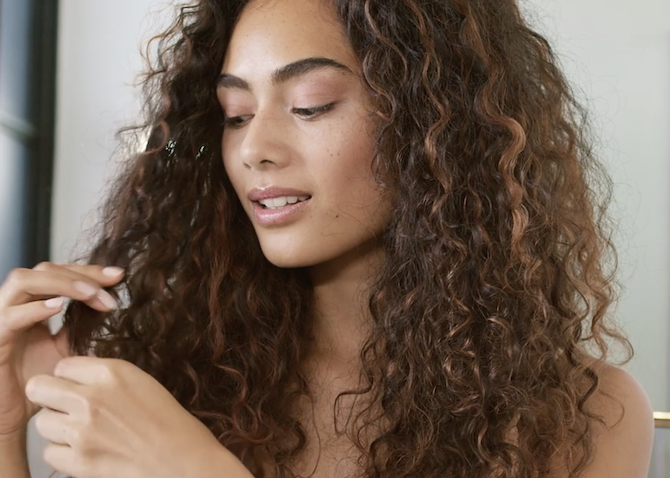
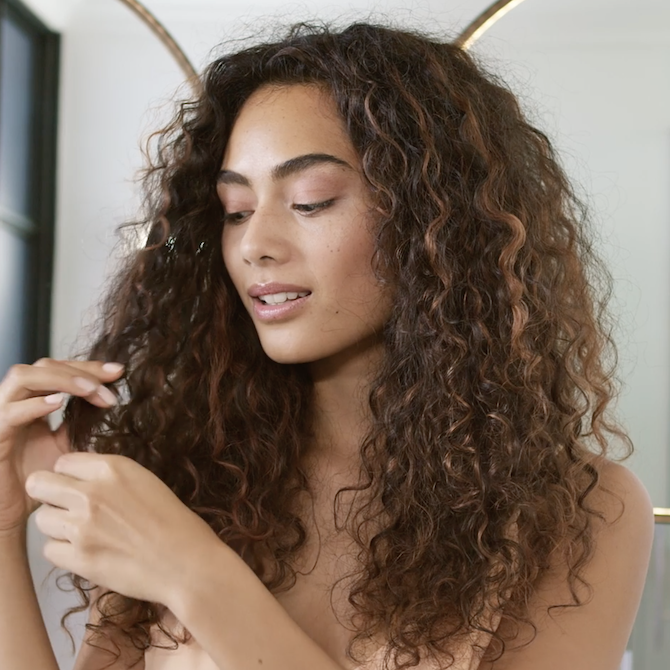
Solving Hair Curling Woes: Expert Tips for Lasting Curls
Identifying Common Curling Pitfalls
When your hair doesn’t hold curl, it can be frustrating. Knowing the common issues can help you avoid them. Let’s dive into the most frequent curling pitfalls so that you can steer clear of them next time you style.

Product Misuse: Using the wrong product or applying it incorrectly can cause problems. Some products are for damp hair, others for dry. Putting wet products on hair before curling creates ‘wet spots’ that damage hair under heat.
Preparation Mistakes: Before curling, you should dry hair right. Using brushes that create tension for straight styles may not be best for curling. Brushes that add texture work better for curls.
Lack of Texture: If your hair is too fine or too soft, it might not curl well. Adding texture is a must. This can be done using texturizing irons or correct volumizing products.
Rushed Cooling: If you don’t let curls cool down fully, they will fall apart fast. It’s vital to let them set after curling before styling further.
Avoid these pitfalls to get on the right path to long-lasting curls. Read on to learn about product selection, hair preparation, and curling techniques for the best curls.
Selecting the Right Hair Styling Products
When dealing with hair that doesn’t hold curl, choosing the right styling products is crucial. Here’s how to pick them:
Understand Your Hair Type: The right product can depend on your hair’s texture. Fine hair needs lightweight options to prevent drooping, while coarse hair can handle heavier products.
Look for Heat Protection: Always use a thermal protectant. It guards against heat damage and can help curls last longer.
Opt for Mousses and Sprays: They give lift and hold without weighing hair down. Avoid oils and waxes, which can be too heavy.
Check for Holding Properties: Some sprays offer flexible hold, while others are stronger. Choose based on how well your hair holds curl and the style you want.
Ease on Application: Don’t use too much. Excess product can make hair stiff or sticky. Apply evenly for best results.
By following these guidelines, you can find products that will help keep your curls intact, providing the foundation needed for a style that lasts all day.
Preparing Your Hair for Curling Success
Getting your hair to hold a curl starts with good preparation. Here are key steps to get your hair ready for curling success:
Start Clean: Begin with clean, shampooed hair. This removes any residues that might weigh down your hair. Use a volumizing shampoo for fine hair, and consider skipping the conditioner if your hair is very fine or tends to get oily quickly.
Dry Properly: Make sure your hair is completely dry. Wet or damp hair won’t hold a curl. Use a good blow dryer and a heat protectant spray to prep your hair.
Choose the Right Brush: Use a brush that works with your hair type. For fine hair, a paddle brush can induce more texture and volume, which helps the curl to hold.
Mousse is Your Friend: Apply a lightweight mousse or styling foam. This adds grip to your hair, making the curls last longer. Remember not to overdo it; too much product can leave your hair stiff.
Heat Protectant is a Must: A heat protectant shields your hair from damage caused by curling irons. Apply it before you start curling to keep your hair healthy.
By following these steps, you’ll create the perfect canvas for curling. Good prep ensures the greatest chance for those curls to last all day or all night.
 Techniques for Adding Texture to Your Hair
Adding texture to your hair can make a significant difference in how well your curls hold. If your hair doesn’t hold curl, these methods can help boost texture and grip, leading to better results. Let’s cover some expert techniques that you can incorporate into your routine.
Start with the Right Cut
Your haircut can play a major role in how your hair styles. Layers add movement and volume, giving a good base for curls.
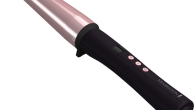
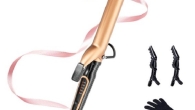
Use a Texturizing Iron
A texturizing iron is a fantastic tool. It creates little crimps in the hair, providing an ideal foundation for curls. Use it on sections of your hair before curling to add texture.
Apply a Volumizing Mousse
A volumizing mousse can do wonders. Apply it to damp hair before blow-drying. Focus on roots to lift your hair and create body.
Try a Salt Spray
Salt sprays can add beach-like texture. Spray onto damp or dry hair and scrunch with your hands to amplify texture.
Blow Dry with a Diffuser
Using a diffuser when blow-drying can enhance natural texture. Keep the dryer on a low setting and scrunch as you dry.
Braid Before Curls
Braiding hair when it’s damp and leaving it to dry naturally can add waves. Undo the braids, and you have a textured base for curling.
Opt for Rollers or Rags
Old school, but effective! Use rollers or rags to create soft waves. Remove them and you’re ready to curl.
Add texture to your hair with these methods before curling. Your curls will likely stay in place longer, giving you the lasting style you desire.
Essential Cooling Time for Durable Curls
Allowing curls to cool is vital for them to last. When you’ve curled your hair, the cooling period lets the shape set. Skipping this step means your curls may droop quickly. Here is what you need to know about cooling your curls effectively:
- Wait Before Touching: After curling, don’t rush to style. If curls are touched too soon, they may not keep their form.
- Use Clips to Set: Pin curls with clips right after curling. This holds the shape as they cool.
- No Brushes or Fingers: Wait to brush or run fingers through curls. This avoids pulling out the bounce.
- Cool Down Takes Time: Give your curls at least 30 minutes to cool fully. This helps strengthen the curl’s structure.
- Plan for Cooling: Always factor in cooling time when planning your styling schedule.
By following these steps, your curls have a better chance of staying put. Let them cool, and you’ll enjoy long-lasting results.
Foundation Building: The Key to Long-Lasting Curls
Creating curls that last involves more than just a curling iron; it’s about building a strong foundation. Here’s how to set the stage for curls that won’t let you down:
- Begin with Blow Drying: Properly drying your hair sets everything up. Use a blow dryer and a brush that gives your hair body and bounce.
- Select the Right Brush: A paddle brush can boost volume and texture in fine hair. For sleekness, choose a brush that creates tension.
- Pre-Curling Products: Apply products that give hold and protection. A root lifting spray can work wonders for volume.
- Blow Dry Technique Matters: How you blow dry affects your curls. For volume, lift sections up as you dry. For smoothness, dry downwards.
- Use Heat Protection: A thermal spray guards against heat and helps hold the style. Apply it before you curl your hair.
By focusing on these foundational steps, you ensure that each curl has the best chance of holding for longer periods. Remember to talk with your client about their hair prep at home to make sure they’re setting themselves up for curling success as well.
Expert Methods for Reinforcing Curls
Ensuring your curls stay intact through a long event or a full day at work can be a challenge, but with expert methods for reinforcing curls, you can increase the longevity of your style. Here are some effective steps to reinforce your hair’s ability to hold a curl:
- Start with the Right Products: Use styling products specifically designed for your hair type. For fine hair, lightweight mousses work best, while thicker hair may need stronger hold sprays.
- Pre-Curling Prep: Apply a heat-protective spray before curling. This step guards your hair against heat damage and helps to maintain the curls.
- Creating Texture: Use a texturizing iron to add grip and volume. It makes the hair easier to curl and helps the style last longer.
- Section Your Hair: Curling smaller sections at a time allows the heat to distribute evenly, resulting in better-formed curls.
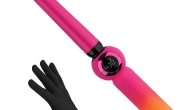
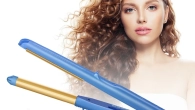
- The Right Tool: Use a curling iron or wand suitable for your hair length and texture. Ensure the temperature is right for your hair type to avoid damage.
- Cooling Effect: After curling, pin the curl to your head and let it cool. This setting step is crucial for curls that last.
- Final Touches: Once the curls have cooled down, use a light hold hairspray to set the style without making it stiff.
Reinforcing curls might seem like extra steps, but it pays off with a hairstyle that remains beautiful and bouncy all day.
 Cooling Curls: Why Patience Pays Off
Patience is key when curling your hair. Curls need time to set their shape properly. Don’t touch your curls right after using the iron. Wait for them to cool down. This step can’t be rushed if you want curls that last.
Let’s break down why cooling your curls matters:
- Set the Shape: Heat changes hair shape, but cooling locks it in.
- Avoid Drooping: Touching curls too soon can make them fall flat.
- Give it Time: It might take up to 30 minutes for curls to set.
- Plan Ahead: Add cooling time to your hair styling schedule.
Here is a simple way to cool curls:
- Pin Them Up: After curling, use clips to hold curls against your head.
- Be Gentle: Handle curls softly when releasing them from pins.
- Wait to Style: Don’t comb through curls until they’re fully cooled.
When curls cool properly, they are more likely to hold their shape all day. Remember, good things come to those who wait. Let those curls cool for the best bounce and longevity.