


How do you curl your hair with a curling iron brush?
Introduction
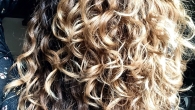
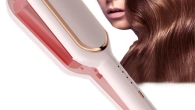
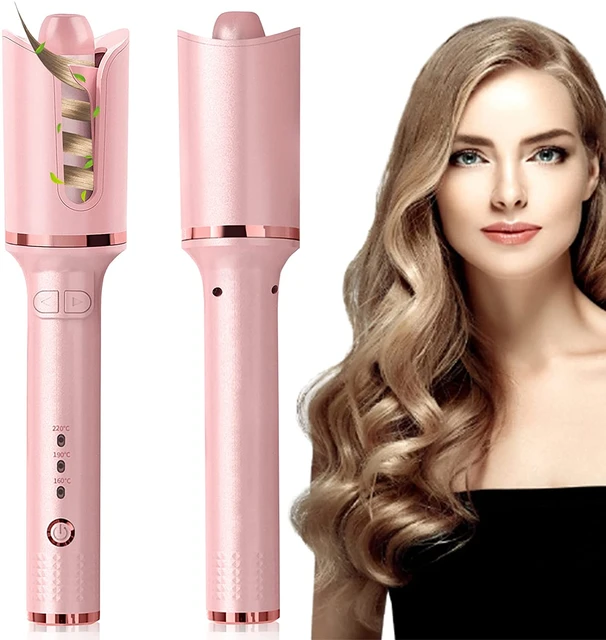
A curling iron brush is a versatile tool that combines the benefits of a curling iron and a brush, allowing you to create stunning curls with ease. This innovative tool simplifies the curling process, providing control and convenience for beginners and experienced users alike. In this guide, we will walk you through the steps to curl your hair with a curling iron brush, discussing techniques, tips, and styling options to help you achieve beautiful curls.
How do you curl your hair with a curling iron brush?
Understanding the Curling Iron Brush
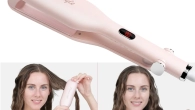
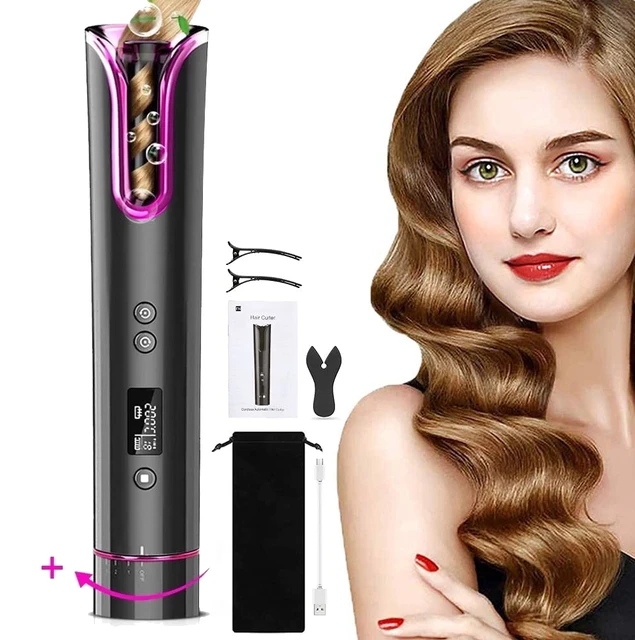
1.1. Design and Features
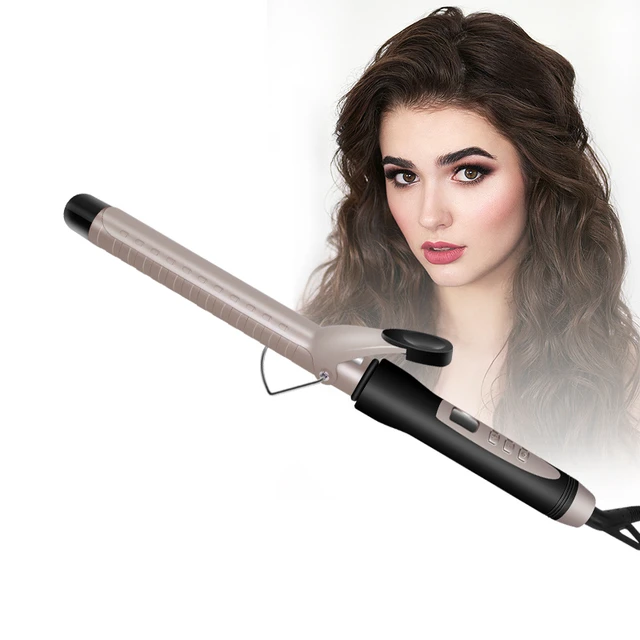
A curling iron brush typically resembles a regular brush but with a heated barrel. It usually has bristles or comb-like attachments around the barrel to help guide and separate the hair strands during the curling process.
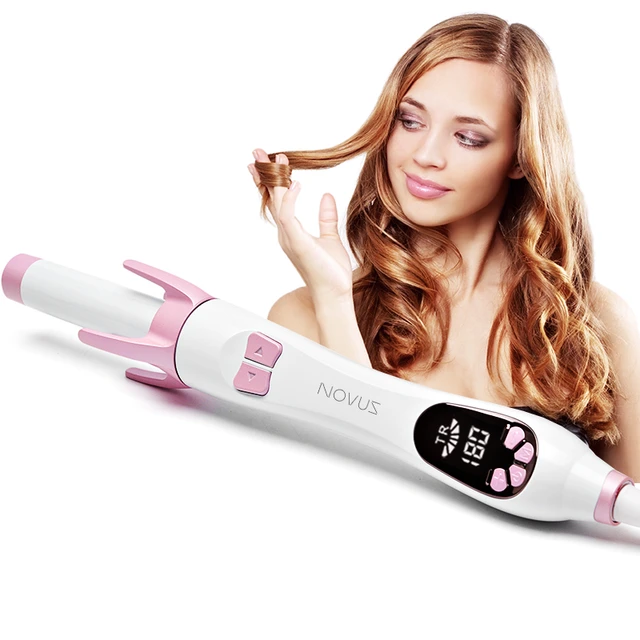
1.2. Heat Settings
Most curling iron brushes offer multiple heat settings to accommodate different hair types and desired curl styles. Setting the appropriate temperature ensures optimal styling results while minimizing the risk of heat damage.
Preparing Your Hair
2.1. Clean and Dry Hair
Begin with clean, dry hair before using the curling iron brush. If necessary, wash and blow-dry your hair prior to styling to remove excess moisture and achieve the best curling results.
2.2. Heat Protectant
Before applying heat to your hair, it is essential to apply a heat protectant product. This safeguards your hair from the potential damage caused by high temperatures and helps maintain its health and integrity.
2.3. Sectioning
Sectioning your hair makes the curling process more manageable, ensuring that each section gets adequate attention. Divide your hair into smaller sections using clips or hair ties, starting with the bottom layer and working your way up.
Curling Techniques and Tips
3.1. Basic Curling Technique
Step 1: Heat the Curling Iron Brush
Switch on the curling iron brush and adjust it to your desired heat setting. Allow the tool to heat up fully before starting the curling process.
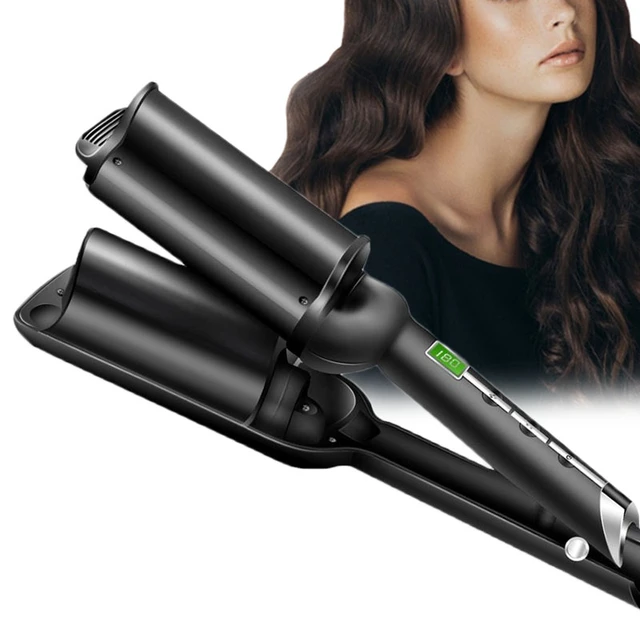
Step 2: Choose the Right Barrel Size
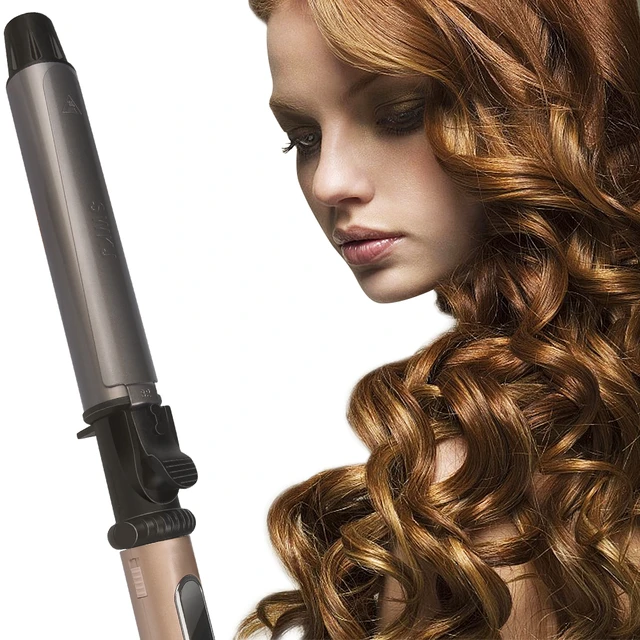
Selecting the appropriate barrel size depends on the desired curl look. Smaller barrels create tighter curls, while larger barrels produce looser, wavy curls. Experiment with different barrel sizes to find the one that works best for your desired style.
Step 3: Take a Hair Section
Take a small section of hair, about 1-2 inches wide, and hold it taut with your fingers or a comb. The smaller the section, the tighter the curl will be.
Step 4: Wrap the Hair Around the Barrel
With the curling iron brush facing downward, wrap the hair section around the heated barrel. Begin close to the roots and work your way down to the ends of the hair. Use the bristles or comb-like attachments on the brush to guide the hair around the barrel and prevent tangling.
Step 5: Hold and Release
Hold the hair around the barrel for a few seconds, typically between 5-10 seconds, to allow the heat to set the curl. Gently release the hair from the curling iron brush, letting the curl fall naturally.
Step 6: Repeat and Alternate
Continue curling small sections of hair, alternating the direction of the curls for a more natural and textured look. Curl away from the face for one section, then curl towards the face for the next, and so on.
3.2. Tips for Best Results
Avoid Overlapping: Make sure not to overlap the hair sections as this may cause uneven heating and result in an inconsistent curl pattern.
Check the Curl Hold: Test the curl’s hold before releasing it. If it unravels or straightens too quickly, leave it on the curling iron brush for a few more seconds to ensure a more defined curl.
Let the Curls Cool: Once you release a curl, let it cool in your hand for a few seconds before moving or styling it. This helps the curl set and enhances its longevity.
Use a Comb or Brush: If necessary, use a comb or brush to gently separate and loosen the curls for a more natural look.
Start with the Bottom Layers: Begin curling from the bottom layers of your hair and progress towards the top. This technique ensures that all sections receive the same amount of heat and attention.
Styling Options and Finishing Touches
4.1. Varying Curl Styles
Tight Curls: For tighter curls, select a smaller barrel size, take smaller hair sections, and hold each section on the curling iron brush for a longer period of time.
Loose Waves: To create loose waves, opt for a larger barrel size, take larger hair sections, and hold each section on the curling iron brush for a shorter duration.
Combining Curl Sizes: Embrace variety by using different barrel sizes to create a mix of tight and loose curls throughout your hair. This adds dimension and texture to your overall look.
4.2. Setting and Hair Care
Cool the Curls: Once you have finished curling your entire head, allow the curls to cool completely before finalizing your hairstyle. This helps the curls maintain their shape and durability.
Hairspray or Styling Product: To enhance the hold, lightly mist your hair with a flexible-hold hairspray or apply a small amount of styling product, focusing on the ends of the curls. This helps to seal the curls and prevent them from unraveling throughout the day.
Avoid Touching the Curls: Refrain from touching or running your fingers through the curls immediately after styling. This reduces the chances of disrupting the curl pattern and causing frizz.
Clean and Store Your Curling Iron Brush
5.1. Cleaning
After each use, allow the curling iron brush to cool completely. Use a soft, damp cloth to wipe away any product residue or debris from the barrel and bristles. Avoid using harsh chemicals or abrasive materials that may damage the tool.
5.2. Storage
Store your curling iron brush in a cool and dry place, away from excessive heat or moisture. Consider using a heat-resistant storage pouch or holder to protect the barrel and prevent any accidental heat damage.
Conclusion
Using a curling iron brush offers a convenient and efficient way to create beautiful curls. By following proper techniques and tips, you can easily achieve stunning curls with added control and convenience. Experiment with different barrel sizes, curling techniques, and styles to find the look that best suits your preferences. Remember to prioritize hair protection by using heat protectants and allowing the curls to cool before finalizing your hairstyle. With practice and the right tools, you’ll be able to master the art of curling your hair with a curling iron brush and enjoy a wide range of versatile and gorgeous curl styles.