


Should I get a curling wand or iron for beginners?
Introduction
For those new to styling their hair, deciding between a curling wand and a curling iron can be challenging. Both tools offer different techniques and results, making it important for beginners to understand their differences and choose the one that suits their needs and skill level. In this comprehensive guide, we will explore the considerations for beginners when deciding between a curling wand and a curling iron. By examining the features, ease of use, versatility, and desired outcomes, you can make an informed decision and achieve beautiful curls and waves.
Should I get a curling wand or iron for beginners?
I. Understanding the Basics of Curling Wands and Curling Irons
-
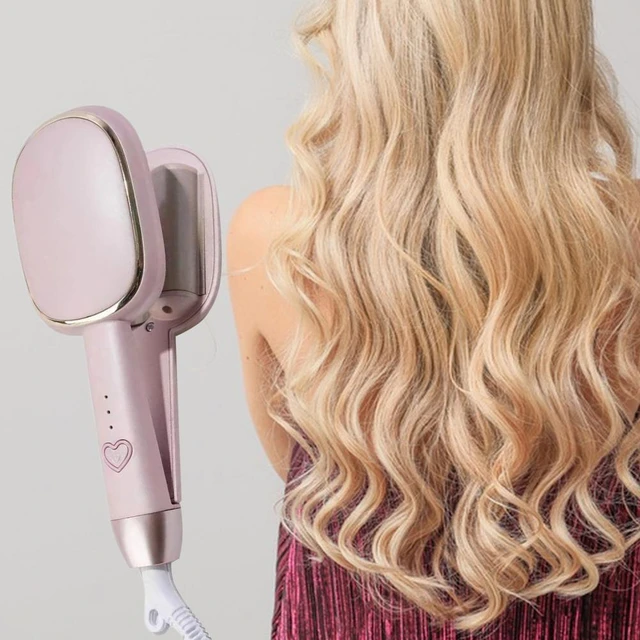
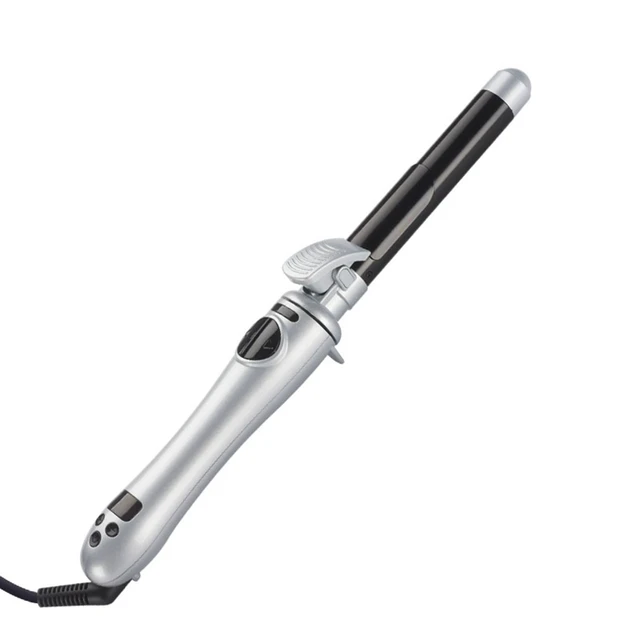
Curling Wand:
- A curling wand features a clamp-free design, resembling a straight rod with a uniform diameter from the base to the tip. This design allows for natural-looking, tapered curls or waves.
-
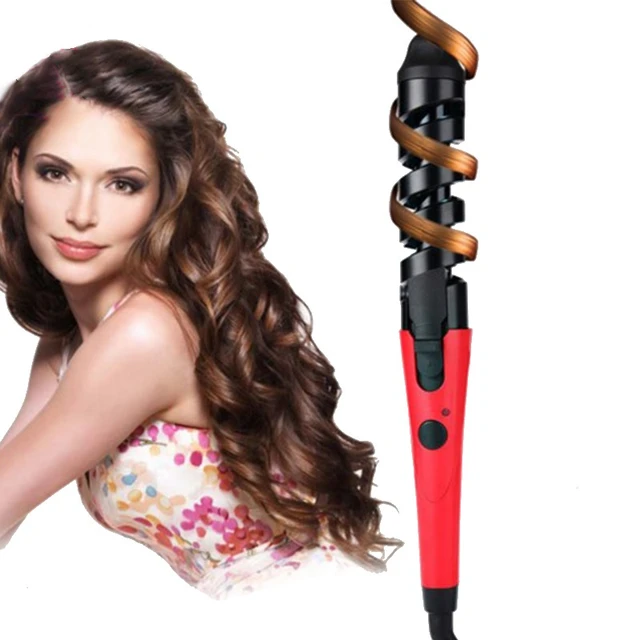
Curling Iron:
- A curling iron consists of a barrel with a clip or clamp to hold the hair in place while curling. The barrel size can vary, offering different types of curls or waves based on individual preferences.
II. Heat-up Time and Temperature Control
-
Curling Wand:
- Curling wands typically have quick heat-up times, allowing you to start styling your hair sooner. Some models offer adjustable temperature controls, providing versatility for various hair types.
-
Curling Iron:
- Curling irons also have relatively fast heat-up times, depending on the model. They often offer customizable temperature settings, enabling you to choose the appropriate heat level for your hair.
III. Ease of Use for Beginners
-
Curling Wand:
- Many beginners find curling wands easier to handle since they require minimal technique. Without a clamp, there is no need to worry about releasing the hair from the device, simplifying the curling process.
-
Curling Iron:
- Curling irons require beginners to master the technique of using the clamp. This technique involves opening and closing the clamp to secure the hair, which may take some practice to achieve the desired results.
IV. Versatility and Range of Hairstyles
-
Curling Wand:
- Curling wands can create a variety of curl sizes, ranging from tight curls to loose waves, depending on the technique and the section of hair wrapped around the wand. This versatility allows for different styling options.
-
Curling Iron:
- Curling irons also offer versatility, with the barrel size determining the type of curls or waves achieved. Smaller barrels produce tighter curls, while larger barrels create looser waves or voluminous curls.
V. Desired Curl or Wave Finish
-
Curling Wand:
- Curling wands typically create curls with a more natural-looking finish. The lack of a clamp allows for a seamless curl pattern, resulting in beachy waves or loose, tousled curls.
-
Curling Iron:
- Curling irons tend to produce more defined curls due to the presence of a clamp. This design enhances the structure of the curls, resulting in a polished, classic curl appearance.
VI. Hair Length and Hair Type Considerations
-
Curling Wand:
- Curling wands are well-suited for all hair lengths, including short, medium, and long hair. They work particularly well on longer hair, allowing the curls to cascade effortlessly.
-
Curling Iron:
- Curling irons work effectively on various hair lengths; however, they may be slightly more challenging to use on shorter hair due to the presence of the clamp.
VII. Safety Considerations
-
Curling Wand:
- With no clamp or clip, curling wands eliminate the risk of accidentally catching or tangling the hair during the curling process. This feature makes them a safer option, especially for beginners.
-
Curling Iron:
- Curling irons come with a clamp or clip that holds the hair in place during styling. Beginners must exercise caution to avoid accidentally clamping too tightly or pulling the hair while curling.
VIII. Additional Features and Considerations
-
Curling Wand:
- Some curling wands come with additional features, such as interchangeable barrels of varying sizes. These versatile options allow for more experimentation and customization of curl styles.
-
Curling Iron:
- Curling irons may offer extra features such as automatic shut-off functions for added safety or tourmaline or ceramic barrels to distribute heat more evenly and reduce hair damage.
X. Tips for Using Curling Wands and Curling Irons as Beginners
-
Start with Heat Protection:
- Before using either tool, apply a heat protectant spray or serum to your hair. This helps minimize heat damage and promotes healthier styling.
-
Section Your Hair:
- Divide your hair into manageable sections using clips or hair ties. This makes the curling process easier and ensures that each section is thoroughly styled.
-
Practice with Different Barrel Sizes:
- Experiment with different barrel sizes to achieve different curl styles. Start with a medium-sized barrel to get a feel for the tool, then try smaller or larger barrels to explore different looks.
-
Wrap Hair Away from the Face:
- When curling, wrap the hair away from your face for a more flattering and natural look. This technique frames the face and enhances the overall hairstyle.
-
Don’t Hold Hair on the Barrel for Too Long:
- Avoid keeping your hair wrapped around the barrel for too long, as this can lead to overly tight or damaged curls. The amount of time needed may vary depending on your hair type, so experiment to find the ideal duration for your desired results.
-
Use Heat-Resistant Gloves:
- If you’re concerned about accidentally burning your fingers, consider using heat-resistant gloves as an extra precaution while handling the hot tool.
-
Let Curls Cool Before Touching:
- Allow the curls to cool completely before touching them or running your fingers through. This helps set the curls and ensures longer-lasting results.
-
Apply Hairspray:
- To prolong the life of your curls and maintain their shape, spray a light mist of hairspray after styling. This adds hold and helps combat frizz.
XI. Maintenance and Safety Tips
-
Clean Your Tools Regularly:
- Keep your curling wand or curling iron clean by wiping them down with a damp cloth or using a gentle cleaning solution. This removes product buildup and maintains their performance.
-
Store Properly:
- Allow your tool to cool down completely before storing it in a safe and dry place. Avoid wrapping the cord tightly around the tool, as this can cause damage over time.
-
Be Mindful of Heat Settings:
- Beginners should start with lower heat settings and gradually increase if needed. Higher heat can pose a greater risk of heat damage, so find the lowest effective temperature for your hair type.
IX. Conclusion: Choosing the Right Tool for You
When deciding between a curling wand and a curling iron as a beginner, it is essential to consider factors such as ease of use, desired curl or wave finish, hair length, and personal preference. Both tools offer unique benefits and styling techniques.
If you prefer a more natural-looking curl pattern and find the lack of a clamp appealing, a curling wand may be the best choice. Its simple design and versatility make it ideal for beginners, regardless of hair length. On the other hand, if you prefer more defined curls and are comfortable using a clamp, a curling iron can provide a classic, polished curl appearance.
Remember to consider safety features, temperature control options, and additional features when making your decision. Ultimately, choosing the right tool for you depends on your comfort level, desired styles, and the unique characteristics of your hair. With practice and experimentation, you can achieve beautiful curls and waves, enhancing your styling repertoire and personalizing your look.