


Perfect Curls: Mastering the Art of Curling Hair with a Curling Iron
Introduction
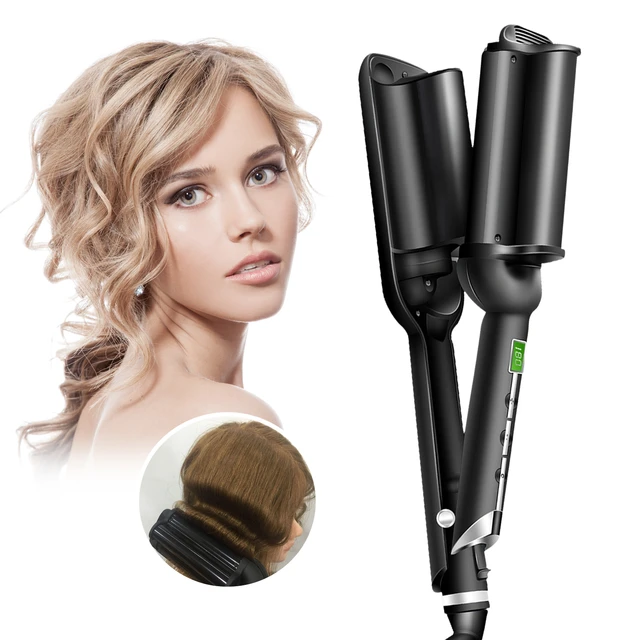
Curling irons are a hairstyling staple, allowing you to effortlessly transform your hair into stunning curls or waves. Whether you desire tight ringlets, loose beachy waves, or voluminous curls, a curling iron is a versatile tool that can help you achieve your desired look. In this comprehensive guide, we will explore step-by-step instructions for curling hair with a curling iron, discuss tips for optimal results, provide insights on selecting the right curling iron, and offer styling suggestions for different hair types. Get ready to elevate your hairstyling game and create envy-worthy curls with a curling iron.
Perfect Curls: Mastering the Art of Curling Hair with a Curling Iron
I. Prepping Your Hair
Before diving into curling, it’s important to prepare your hair for optimal results:
-
Wash and Condition:
- Start by washing your hair with a shampoo and conditioner suitable for your hair type. Clean, conditioned hair provides a smooth foundation for curling.
-
Apply Heat Protectant:
- Apply a heat protectant spray or serum to your hair to protect it from the high temperatures of the curling iron. This helps minimize heat damage and ensures long-lasting styles.
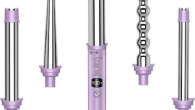
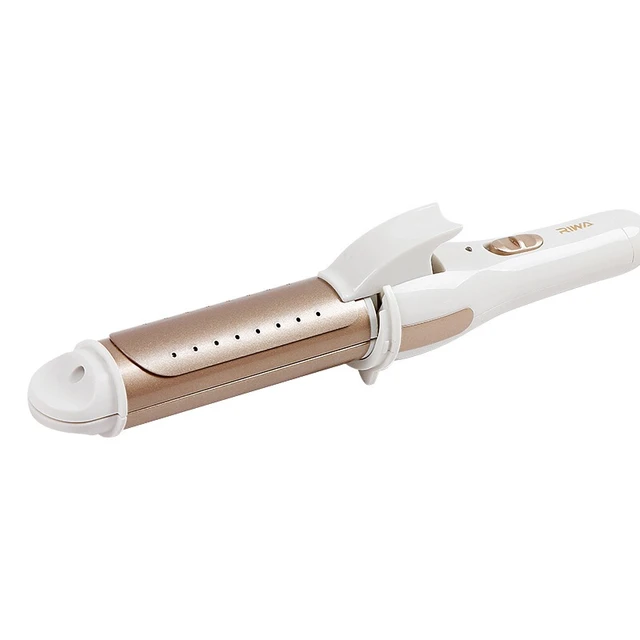
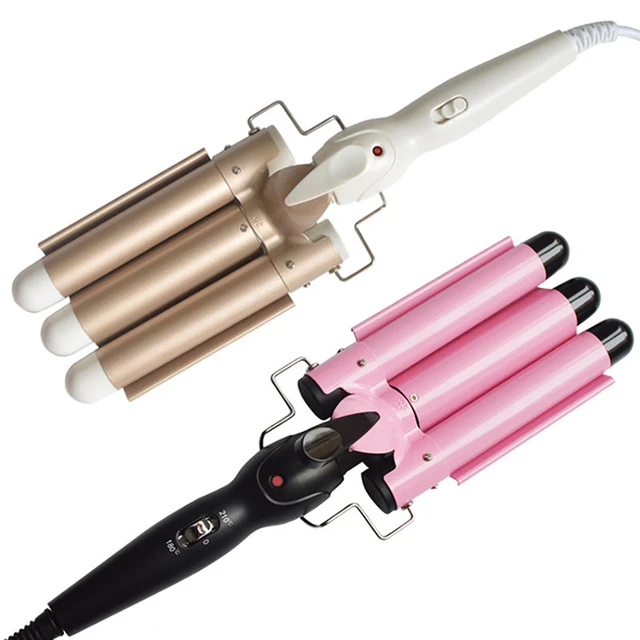
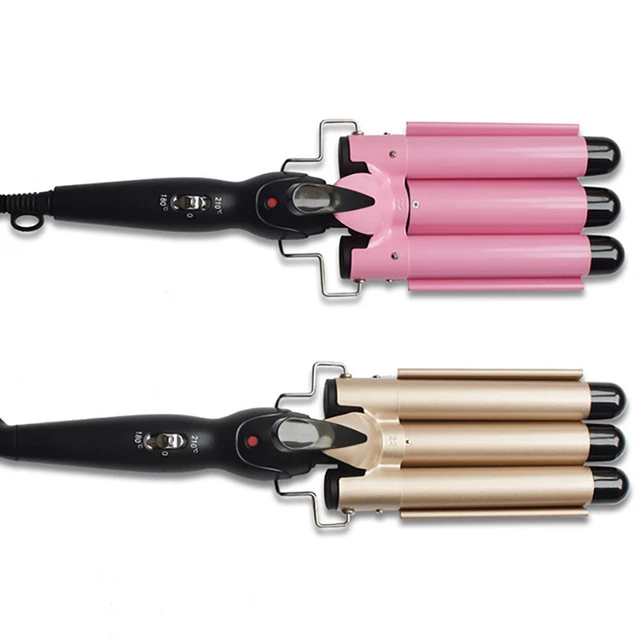
II. Selecting the Right Curling Iron
Choosing the appropriate curling iron ensures the best results for your desired curl type:
-
Barrel Size:
- Consider the barrel size of the curling iron based on your desired curl style. Smaller barrels, such as 1/2 to 1-inch, create tighter curls, while larger barrels, like 1 1/4 to 2-inches, produce looser, more relaxed curls.
-
Material:
- Curling irons come in a range of materials, including metal, ceramic, and tourmaline. Ceramic and tourmaline barrels distribute heat evenly, reducing heat damage and creating a smoother finish.
III. Preparing Your Curling Iron
Before starting the curling process, prepare your curling iron:
-
Heat Setting:
- Set your curling iron to the appropriate heat setting for your hair type. Fine or damaged hair may require a lower heat setting, while thicker or coarser hair may benefit from a higher temperature.
-
Heat Up:
- Allow the curling iron to heat up fully according to the manufacturer’s instructions before styling. This ensures consistent and even heat distribution during the curling process.
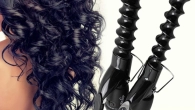
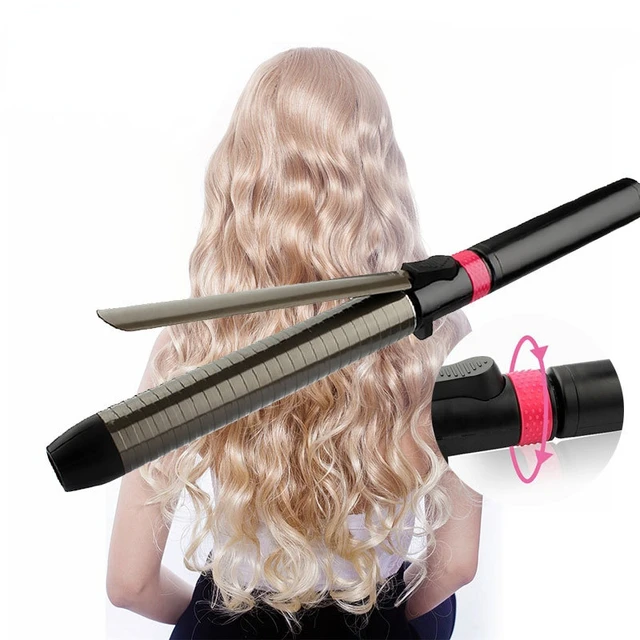
IV. Curling Your Hair
Follow these step-by-step instructions to create beautiful curls using a curling iron:
-
Section Your Hair:
- Divide your hair into two or more sections using clips or hair ties. Start by creating a part down the middle to separate the hair into two sections.
-
Begin Curling:
- Take a small section of hair, approximately one inch wide, and comb through it to remove any tangles. Hold the curling iron vertically, pointing the barrel downward.
-
Wrap and Hold:
- Start at the base of the sectioned hair and wrap it around the curling iron, away from your face. Hold the ends of the hair with your fingers as you wrap to prevent them from slipping out.
-
Hold and Release:
- Hold the hair wrapped around the curling iron for a few seconds, typically 5-10 seconds, depending on the thickness of your hair and the heat setting. Gently release the curl by unwrapping the hair from the curling iron.
-
Continue Curling:
- Repeat steps 2-4 for all sections of your hair. Work systematically, curling one section at a time, moving from the back to the front. Alternate the direction of the curls for a more natural and voluminous look.
V. Tips for Optimal Results
Achieve the best curling results with these helpful tips:
-
Vary the Size of Sections:
- Create more natural-looking curls by alternating the size of the hair sections as you curl. Take larger sections for looser waves or smaller sections for more defined curls.
-
Curl Away from Your Face:
- For a flattering and face-framing effect, curl the hair away from your face on both sides. This enhances your features and adds dimension to your style.
-
Let the Curls Cool:
- Allow the curls to cool completely before touching or styling them further. This helps the curls set and hold their shape for longer-lasting results.
-
Use a Heat-Resistant Glove:
- If you’re new to curling or struggle with maneuvering the curling iron, consider using a heat-resistant glove on the hand that holds the hair. This protects your fingers from accidental burns.
VI. Styling Suggestions for Different Hair Types
Consider these suggestions for styling curls based on different hair types:
-
Fine or Thin Hair:
- To create volume and ensure a long-lasting curl, lightly tease the roots of each section before curling. Incorporating a volumizing spray or mousse can also help add fullness and hold.
-
Thick or Coarse Hair:
- Use smaller sections and increase the heat setting to achieve the desired curl. Applying a heat-activated styling product or a light hair oil before curling can help smooth the hair and enhance shine.
-
Long Hair:
- Experiment with various curl sizes and angles to add movement and dimension to your long locks. Consider leaving the ends of the hair out while wrapping for a more relaxed and modern look.
-
Short Hair:
- Opt for smaller barrel sizes to create tighter curls and more defined texture in shorter hair. Curl the hair in different directions to create a tousled and textured effect.
VII. Finishing Touches
Complete your curled look with these final touches:
-
Set the Curls:
- Allow the curls to cool completely, then mist a lightweight hairspray over the entire style from a distance to set the curls in place. Avoid touching or combing through the curls immediately after spraying.
-
Add Definition or Softness:
- Depending on your desired style, you can either gently brush through the curls with your fingers or use a wide-tooth comb for a softer, more natural look. Alternatively, use a curling wand to redefine individual curls as desired.
-
Create Volume:
- To add volume to your curls, flip your head upside down and gently massage the roots with your fingers. This helps create lift and body at the root area.
VIII. Maintenance and Care
Maintain the beauty of your curls with these essential maintenance tips:
-
Longevity:
- Extend the life of your curls by sleeping with them in a loose bun or using a silk or satin pillowcase. This helps prevent excessive friction and helps the curls stay intact for longer periods.
-
Avoid Over-Styling:
- Limit heat styling to avoid causing damage to your hair. Embrace heatless curling techniques, such as overnight curling methods or braiding, for variety and to give your hair a break.
-
Hydration and Protection:
- Regularly deep condition your hair to replenish moisture and protect it from the heat. Incorporate leave-in conditioners or serums with heat protectant properties to shield your curls from damage.
IX. Conclusion: Embrace Your Beautiful Curls
With these step-by-step instructions, tips for optimal results, and styling suggestions for different hair types, you can confidently create beautiful curls using a curling iron. Embrace the versatility of this hairstyling tool and unleash your creativity.
By following best practices, experimenting with section sizes, and selecting the right curling iron, you can achieve a variety of stunning curl styles. So, embrace your natural texture, exude confidence, and rock your perfect curls created with a curling iron.