


How to Use a Curling Iron with a Clamp?
Introduction:
Using a curling iron with a clamp can help you achieve beautiful, defined curls with ease. However, mastering the technique requires understanding the proper steps, tools, and precautions. This comprehensive guide explores the various aspects of using a curling iron with a clamp, from preparation to styling and maintenance, ensuring you get the best results. Whether you’re a beginner or seeking to refine your skills, this guide provides detailed insights to help you succeed.
How to Use a Curling Iron with a Clamp?
Preparing Your Hair for Curling
Before using a curling iron with a clamp, proper preparation of your hair is crucial. Preparation ensures the curls hold better and reduces the risk of heat damage.
Clean and Dry Hair: Start with clean, dry hair. Washing your hair beforehand helps remove any excess oil or product buildup that can hinder the curling process. Ensure your hair is thoroughly dried, as using a curling iron on wet hair can cause damage and lead to uneven curls.
Apply Heat Protectant: Use a heat protectant spray or serum to shield your hair from the high temperatures of the curling iron. Heat protectants create a barrier that reduces the risk of heat damage, keeping your hair healthy and strong. Apply the product evenly from roots to ends.
Detangle Your Hair: Gently brush or comb your hair to remove any knots or tangles. Smooth, tangle-free hair is easier to curl and prevents snagging or pulling when using the curling iron.
Section Your Hair: Divide your hair into manageable sections using clips or hair ties. Sectioning allows you to work on smaller areas at a time, ensuring all strands are curled evenly and reducing the risk of missing any spots.
Choosing the Right Curling Iron
Selecting the appropriate curling iron for your hair type and desired style is essential. Different irons offer various features and results.
Barrel Size: Curling irons come in different barrel sizes, ranging from small to large. Smaller barrels (0.5 to 1 inch) create tighter, more defined curls, while larger barrels (1.25 to 2 inches) produce loose waves and voluminous curls. Choose a barrel size based on the type of curl you want to achieve.
Temperature Settings: Adjustable temperature settings allow you to control the heat level based on your hair type. Fine or fragile hair requires lower temperatures (300-350°F), while thicker or coarser hair can handle higher settings (350-400°F). Avoid using maximum heat unless necessary to prevent damage.
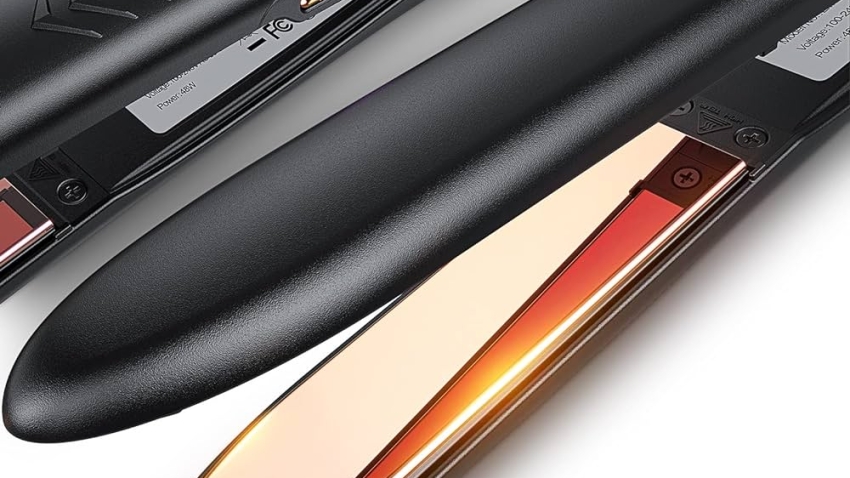
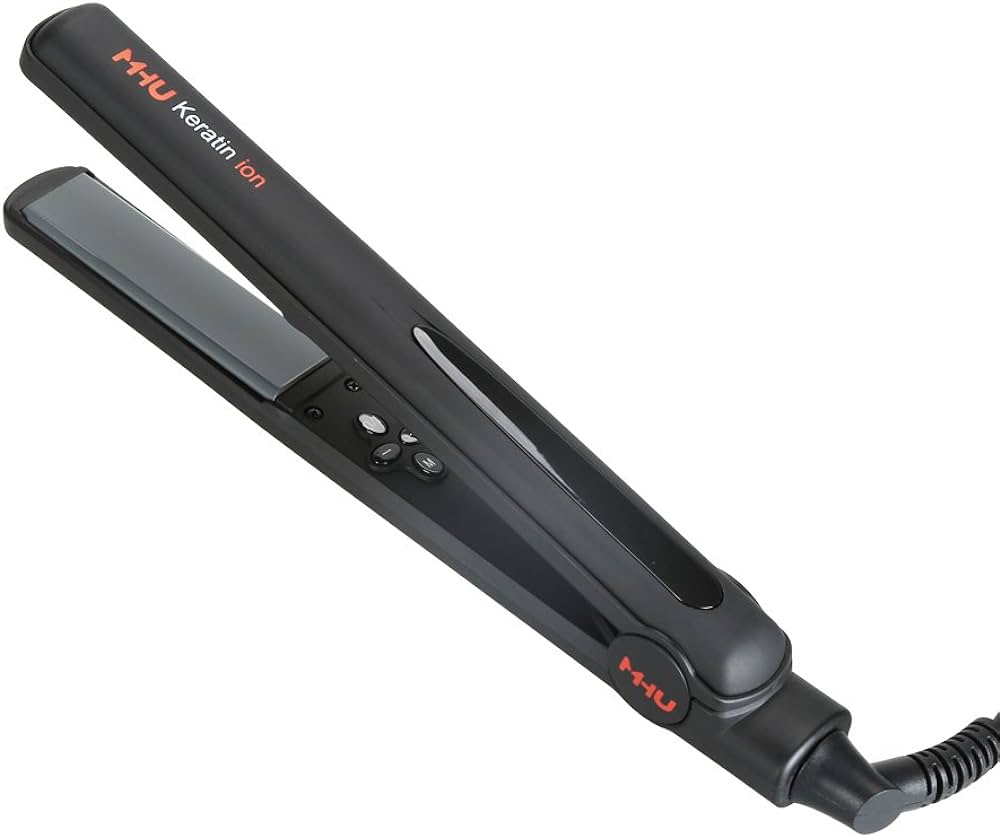
Material: The material of the curling iron barrel affects heat distribution and the overall result. Ceramic irons provide even heat and are suitable for most hair types, while tourmaline and titanium irons offer extra smoothness and are ideal for frizzy or coarse hair.
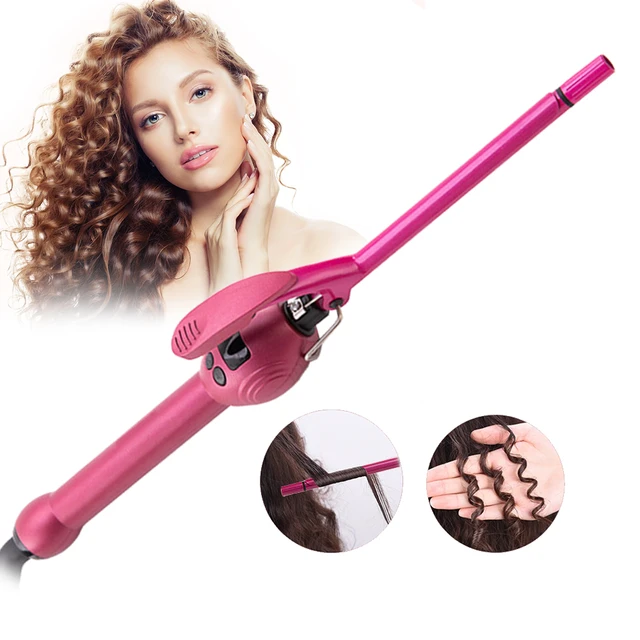
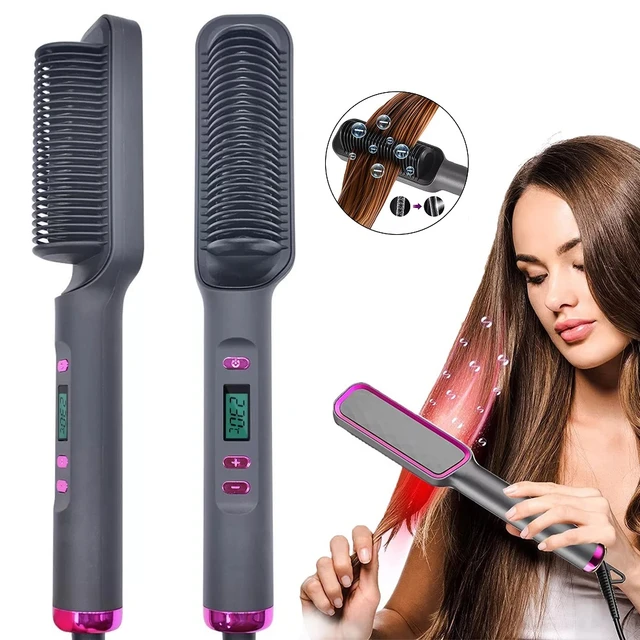
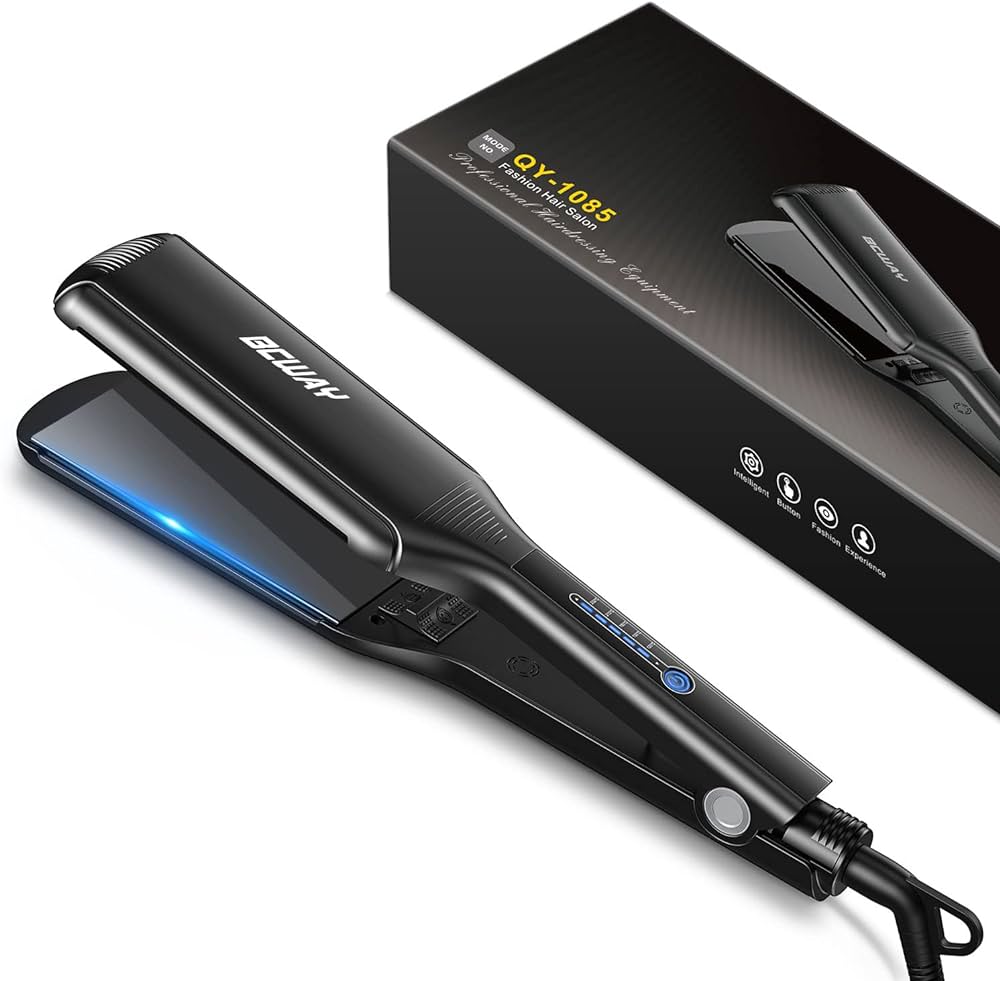
Clamp Design: Opt for a curling iron with a smooth, well-functioning clamp that securely holds the hair without causing creases or snags. A rotating or swivel cord feature adds convenience and ease of use.
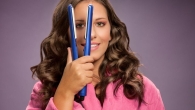
Using the Curling Iron
Mastering the technique of using a curling iron with a clamp ensures smooth, consistent, and long-lasting curls. Here’s a step-by-step guide to help you achieve great results.
Preheat the Curling Iron: Turn on the curling iron and set it to the desired temperature. Allow it to preheat fully, usually indicated by a light or beep. Using a properly preheated iron ensures even heat distribution and better curls.
Positioning the Curling Iron: Hold the curling iron with the clamp facing outward. For right-handed users, hold the iron in your right hand and use your left hand to guide and section the hair. Left-handed users should hold the iron in their left hand.
Clamping the Hair: Select a small section of hair (about 1-2 inches wide) to curl. Open the clamp and place the ends of the hair between the clamp and the barrel. Avoid starting too close to the roots to prevent excessive heat exposure.
Rolling the Hair: Carefully rotate the curling iron inward or outward, depending on the desired direction of the curl. Wrap the hair around the barrel, ensuring even distribution. Close the clamp gently as you roll to secure the hair without creating creases.
Finishing Touches and Styling
After curling, additional steps can enhance the longevity and appearance of your style. Proper finishing touches and styling ensure a polished look.
Cool and Set the Curls: Allow the curls to cool and set completely before touching or brushing them. Cooling helps the curls retain their shape and hold for longer durations.
Separate and Define: Use your fingers or a wide-tooth comb to gently separate and define the curls. This step adds volume and natural movement to the hairstyle without disrupting the curl pattern.
Apply Holding Products: To maintain your curls, apply a light-hold hairspray or styling product. Choose products that offer flexibility without making the hair stiff or crunchy. Holding products provide additional security and longevity to your curls.
Add Shine and Smoothness: Use a serum or finishing spray to add shine and smooth any frizz or flyaways. A light application of shine-enhancing products gives the curls a polished and glossy finish.
Styling Variations: Experiment with different hairstyles using your curls. Create updos, half-up styles, or leave the curls down for a natural, voluminous look. Styling variations add versatility and creativity to your curls.
Common Mistakes to Avoid
Avoiding common mistakes ensures better results and protects your hair from unnecessary damage. Awareness of these pitfalls helps improve your curling technique.
Using Excessive Heat: Using the curling iron at maximum heat settings can cause severe damage to your hair. Always use the lowest effective temperature for your hair type and texture. Excessive heat can lead to dryness, breakage, and split ends.
Oversized Sections: Curling large sections of hair at once decreases the efficiency and uniformity of the curls. Stick to smaller sections for even heat distribution and better-defined curls. Larger sections might not heat evenly, resulting in inconsistent curls.
Holding Curling Iron for Too Long: Holding the curling iron on a section of hair for too long can cause heat damage and create visible creases. Follow the recommended holding time (8-10 seconds) and adjust based on your hair’s responsiveness to heat.
Incorrect Clamp Usage: Improper use of the clamp can cause creases or snags in your curls. Ensure the clamp holds the hair smoothly and avoid clamping too tightly. Practice using the clamp gently to achieve a seamless curl.
Neglecting Heat Protectant: Failing to use a heat protectant exposes your hair to direct heat damage. Always apply a heat protectant product before curling to minimize damage and maintain hair health.
Maintenance and Cleaning of Curling Iron
Proper maintenance and cleaning of your curling iron ensure its longevity and optimal performance. Regular care prevents product buildup and technical issues.
Regular Cleaning: After each use, unplug the curling iron and allow it to cool completely. Use a damp cloth to wipe away any product residue or hair that might have been left behind. Regular cleaning prevents buildup and maintains the iron’s effectiveness.
Deep Cleaning: For a more thorough cleaning, occasionally use a mixture of baking soda and water to scrub the barrel gently. Ensure the iron is unplugged and cooled during this process. Use a soft cloth or brush to remove any stubborn residue.
Inspecting the Cord: Regularly inspect the curling iron’s cord for any signs of wear or damage. Frayed or damaged cords can pose electrical hazards and should be repaired or replaced immediately.
Storage: Store your curling iron in a safe and dry place. Use a heat-resistant mat or pouch to protect surfaces and prevent accidental burns. Avoid wrapping the cord tightly around the iron, as this can cause wear and potential damage.
Checking the Clamp: Ensure the clamp mechanism operates smoothly and without resistance. Lubricate the clamp joints if needed to maintain smooth functionality. A well-maintained clamp ensures easy and effective curling.
Hairstyles Using a Curling Iron with a Clamp
A curling iron with a clamp allows you to create a variety of hairstyles. Exploring different styles adds versatility to your hair routine.
Classic Curls: Create traditional, springy curls by wrapping small sections of hair around the curling iron barrel. This timeless style adds elegance and volume, suitable for various occasions.
Beach Waves: For natural-looking, tousled waves, wrap sections of hair loosely around the barrel and alternate the direction of the curls. This style offers a relaxed, effortless vibe perfect for casual outings.
Vintage Waves: Achieve vintage-inspired waves by curling your hair in one direction and brushing out the curls gently. This technique creates soft, glamorous waves reminiscent of old Hollywood styles.
Textured Ponytail: Add texture and volume to a ponytail by curling your hair before gathering it into a high or low ponytail. This style combines chic curls with the simplicity of a ponytail for an elegant look.
Half-Up, Half-Down: Create a romantic half-up, half-down hairstyle by curling all your hair and securing the top section with a clip or hair tie. This style offers a balanced and versatile look for various settings.
Volume and Lift: Add volume and lift at the roots by curling the hair close to the scalp. Gently tease the roots after curling to enhance the lift and create a fuller appearance.
Conclusion
Mastering the use of a curling iron with a clamp requires understanding the right techniques, tools, and precautions. By properly preparing your hair, selecting the appropriate curling iron, and following the step-by-step guidance, you can achieve beautiful, long-lasting curls. Avoiding common mistakes, maintaining your curling iron, and exploring various hairstyles ensures a positive and versatile curling experience. With comprehensive knowledge and practice, you can confidently use a curling iron with a clamp to enhance your styling routine and achieve stunning results.