


What Are the Best Curling Iron Techniques?
For many, achieving salon-worthy curls at home seems like an elusive dream. But fear not, because with the right technique and a trusty curling iron, you can create a variety of stunning looks that will have everyone asking, “What’s your secret?” This comprehensive guide will delve into the world of curling iron techniques, empowering you to become your own hairstyling maestro.
Unveiling the Curling Iron: Your Gateway to Flawless Curls
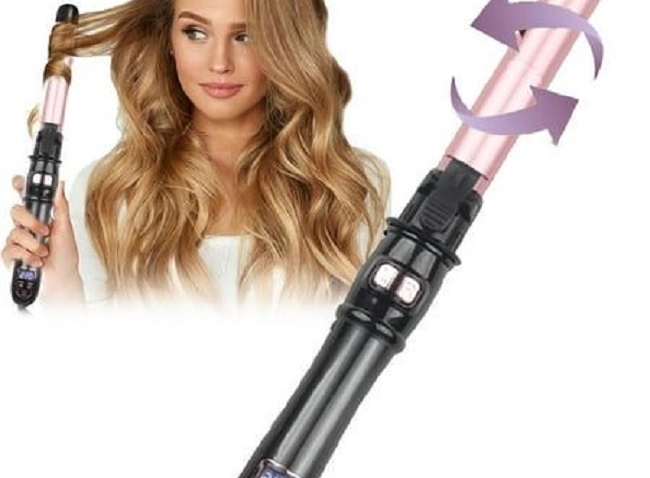
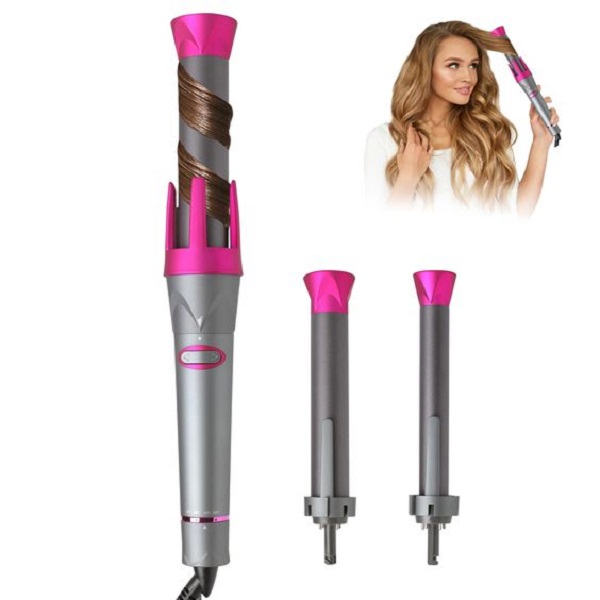
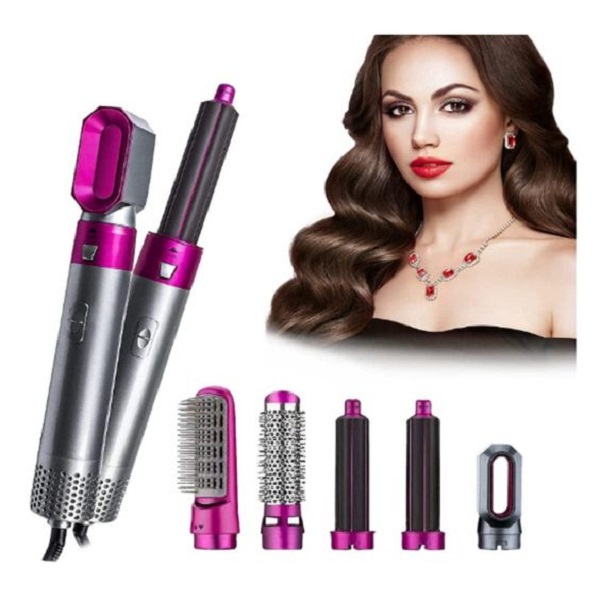
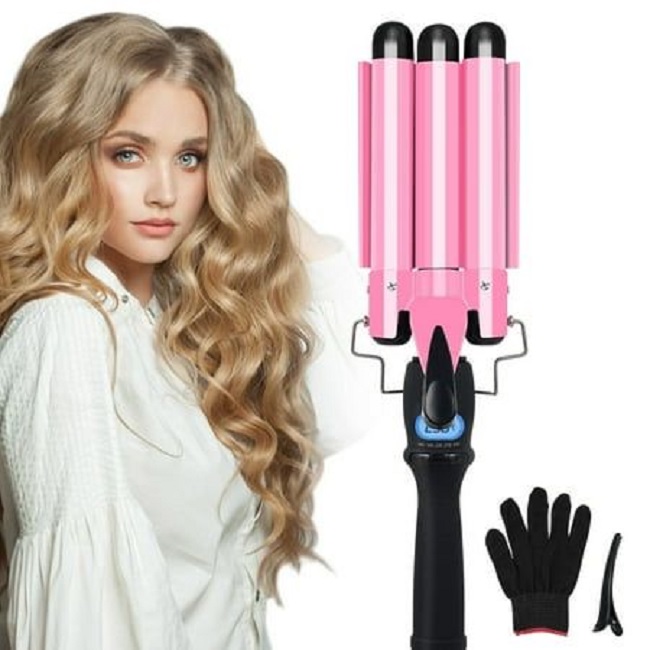
The curling iron is an undeniably versatile hair styling tool. With its heated barrel, it allows you to manipulate your hair into a spectrum of curls, from tight ringlets to loose, beachy waves. But before we dive into specific techniques, let’s explore the different types of curling irons available in 2024:
- Barrel Size: The diameter of the barrel significantly impacts the final curl pattern. Wider barrels create looser, more relaxed waves, while narrower barrels produce tighter curls. A 1-inch barrel is a great all-rounder, while a ½-inch barrel is ideal for tight coils, and a 1 ½ -inch barrel offers voluminous waves.
- Material: The barrel material influences heat distribution and hair health. Ceramic and tourmaline barrels are popular choices as they heat evenly and generate negative ions, reducing frizz.
Heat Up Your Hair Care Routine: Essential Tips for Flawless Curls
Before wielding your curling iron like a styling wand, it’s crucial to prep your hair for optimal results. Here are some key steps to incorporate into your curling iron routine:

- Wash and Condition: Start with clean, detangled hair. Using a moisturizing conditioner helps prevent dryness and heat damage.
- Heat Protectant is Your BFF: Never underestimate the power of a heat protectant spray! It shields your hair from heat damage, preventing split ends and breakage.
- Towel-dried or Dry?: The ideal moisture level depends on your hair type and desired curl pattern. For tighter curls, work with damp hair. For looser waves, let your hair air dry slightly or rough-dry with a diffuser attachment on your blow dryer.
- Sectioning is Key: Divide your hair into manageable sections to ensure even heat distribution and achieve uniform curls.
Conquering the Curl: Mastering Various Techniques with Your Curling Iron
Now that you’re armed with the essential knowledge, let’s explore some popular curling iron techniques to create a variety of stunning looks:
1. The Classic Curl: Timeless and Effortless
This versatile technique forms the foundation for many other curl styles. Here’s how to achieve it:
- Select a 1-inch or 1 ½-inch curling iron depending on your desired curl looseness.
- Take a small section of hair, about 1-2 inches wide.
- Clamp the curling iron down at the root, ensuring the hair strand is flat against the barrel.
- Rotate the iron upwards or downwards (depending on whether you want the curl to face away or towards your face).
- Hold for 10-15 seconds, then gently release the curl.
- Let the curl cool completely before moving on to the next section.
2. Beachy Waves: Effortlessly Chic and Textured
Beachy waves are a laid-back and universally flattering style. Here’s how to create them:
- Use a wider barrel curling iron (1 ½ inch or larger).
- Take a larger section of hair, 2-3 inches wide.
- Instead of clamping down, twist the hair section away from your face loosely.
- Wrap the twisted hair around the barrel, holding for 10-15 seconds.
- Release the curl and allow it to cool completely.
- For added texture, scrunch the hair gently with your hands after all sections are curled.
3. Hollywood Waves: Old-Glamour Inspired
Hollywood waves exude elegance and sophistication. Here’s how to achieve them:
- Use a large barrel curling iron (1 ½ inch or larger).
- Take a large section of hair, 2-3 inches wide.
- Clamp the iron down at the root, holding the hair vertically.
- Rotate the iron upwards and away from your face, creating a loose S-shape with the hair strand.
- Hold for 10-15 seconds, then gently release the curl.
- Repeat on all sections, letting the curls cool completely.
- Once all hair is curled, brush through the waves gently to soften them and create a glamorous finish.
Beyond the Basics: Exploring Advanced Techniques and Embracing Your Creativity
Once you’ve grasped the fundamental curling iron techniques, it’s time to unleash your creativity and explore some advanced styling methods. Here are a few ways to elevate your curl game:
1. The Wand Technique: For Effortless, Undone Waves
The curling wand, a variation of the curling iron that lacks a clamp, offers more flexibility for creating natural-looking waves. Here’s how to use it:
- Begin with dry or slightly damp hair.
- Take a section of hair, 1-2 inches wide.
- Wrap the hair section around the barrel, starting at the mid-shaft and twirling downwards.
- Hold for 10-15 seconds, then gently unwind the hair.
- This technique allows for more variation in curl direction, creating a more natural, looser wave pattern.
2. Flat Iron Waves: A Multi-Tool Approach
Who knew your flat iron could double as a curling iron? Here’s how to achieve waves with a flat iron:
- Ensure your flat iron has adjustable heat settings.
- Take a small section of hair, 1-2 inches wide.
- Clamp down on the hair section with the flat iron near the root, holding it vertically.
- Instead of gliding down straight, gently rotate your wrist as you move the iron down the hair shaft, creating a slight twist.
- This technique creates a subtle wave pattern that can be dressed up or down.
3. Textured Twists: Adding Dimension and Volume
Textured twists add another layer of interest and volume to your curls. Here’s how to achieve them:
- Curl your hair using your preferred technique (classic curl, beachy waves, etc.).
- While the curls are still warm, take a small section of hair and twist it away from your face.
- Pinch the twisted section at the root and hold for a few seconds to set the shape.
- Repeat on random sections throughout your hair for a textured, voluminous look.
4. Waterfall Curls: A Romantic and Intricate Style
Waterfall curls offer a unique and eye-catching style. Here’s how to create them:
- Curl small sections of hair using your preferred technique.
- Instead of letting the curl fall loose, take a small section of hair from above the curl and leave it hanging loose.
- Incorporate the hanging section into the next curl you create, taking another small section of hair from above it and leaving it hanging loose.
- Repeat this weaving technique throughout your hair, creating a cascading waterfall effect.
5. Half-Up, Half-Down Curls: A Versatile and Stylish Option
The half-up, half-down hairstyle is a great way to showcase your curls while keeping some hair out of your face. Here’s how to style it:
- Curl your hair using your preferred technique.
- Separate the top section of your hair from the bottom section. You can determine the size of the sections based on your preference.
- Twist the top section of hair back and secure it with a bobby pin or hair elastic.
- Leave the bottom section of hair loose or add additional styling elements like braids or twists.
These are just a few ideas to spark your creativity. Remember, the beauty of curling iron techniques lies in their versatility. Feel free to experiment, combine different methods, and personalize your curls to suit your style and face shape.
Choosing the Right Curling Iron: A Match Made in Hair Heaven
With a plethora of curling irons available, selecting the perfect one can feel overwhelming. Here are some key factors to consider:
- Barrel Size: As mentioned earlier, the barrel size dictates the curl pattern. Opt for a wider barrel for looser waves and a narrower barrel for tighter curls.
- Material: Ceramic and tourmaline barrels are popular choices due to even heat distribution and frizz reduction. Titanium barrels heat up faster but may not be suitable for all hair types.
- Heat Settings: Adjustable heat settings allow you to customize the heat based on your hair type and desired curl longevity. Finer hair requires lower heat settings, while coarse hair can handle higher temperatures.
- Features: Consider additional features like a digital temperature display, an automatic shut-off function, and a long swivel cord for added convenience.
Beyond the Heat: Embracing Heatless Curling Techniques
While curling irons are fantastic tools for creating stunning styles, heat styling can sometimes damage hair. If you’re looking for a break from the heat or have heat-damaged hair, there are several effective heatless best curling techniques you can explore. Here are a few ideas:
- Braiding Magic: Braids are a natural way to create defined waves and curls. Try French braids, Dutch braids, or even fishtail braids for different textures. Leaving the braids in overnight will set the curls for a long-lasting effect.
- Sock Curls: This fun and easy technique utilizes socks to create voluminous curls. Simply roll damp hair around old socks or tights and secure them with ribbons or hair ties. Let your hair dry completely before unraveling the socks for bouncy, heatless curls.
- Headbands and Rags: Headbands and rags can be used to create soft, loose waves. Wrap damp hair around a headband or tie sections of hair around rags and secure them. Let your hair dry completely before removing the headband or rags.
- Flexi-Rods: Flexi-rods are bendable rods that can be used to create a variety of curl patterns. Wrap damp hair sections around the rods and secure them with clips. Let your hair dry completely before removing the rods for defined, heatless curls.
Troubleshooting Common Curling Iron Mishaps: Achieving Flawless Curls Every Time
Even the most seasoned hairstylists encounter curling iron mishaps from time to time. Here’s how to troubleshoot some common problems:
- Limp Curls: If your curls fall flat quickly, it could be due to not using enough heat, not letting the curls cool completely before styling, or using products that weigh down your hair. Try using a higher heat setting (within reason for your hair type), letting curls cool fully, and applying hairspray for hold.
- Frizz: Frizz can be caused by using the wrong heat setting, not using a heat protectant, or having dry hair. Ensure you’re using the right heat setting for your hair type, applying a heat protectant spray beforehand, and using products formulated for frizz control.
- Uneven Curls: Uneven curls can be a result of not sectioning your hair properly, holding the curling iron for inconsistent amounts of time, or using the wrong curling iron technique. Pay attention to sectioning your hair evenly, using a timer to ensure consistent curl hold time, and practicing your curling iron technique.
Embrace Your Inner Hair Goddess
The world of curling irons is vast and exciting, offering endless possibilities for creating stunning and versatile hairstyles. With the right technique, a quality curling iron, and a touch of creativity, you can achieve salon-worthy curls at home. So, unleash your inner hairstylist, embrace the power of the curling iron, and rock those curls with confidence!
Ready to take your curl game to the next level? Invest in a high-quality curling iron that suits your hair type and styling needs. With a little practice and the tips and techniques you’ve learned in this guide, you’ll be a curl connoisseur in no time!