Effortless Waves: Curling Wand Techniques
Choosing the Right Curling Wand
How to curl hair with curling wand? Selecting the best curling wand is essential for creating perfect waves. Consider your hair type and the curls you desire. To help make an informed decision, here are key factors to assess.
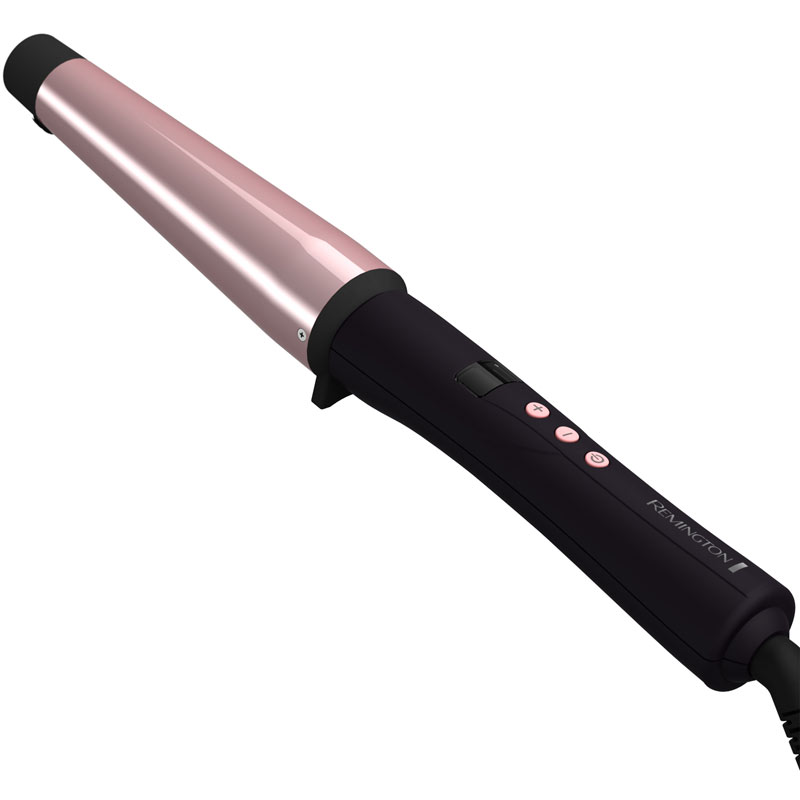
Factors to Consider: Barrel Size and Material
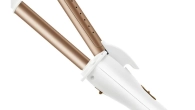
Barrel size influences the curl’s tightness. Small barrels form tight curls, while large ones create loose waves. Material affects heat distribution and hair health. Ceramic and titanium are popular choices. Ceramic ensures even heat distribution, preventing hot spots that can damage hair. It emits negative ions, reducing frizz and enhancing shine. Titanium heats up quickly and is ideal for thick, coarse hair, offering durability and high temperature resistance.
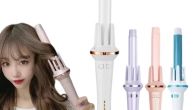
Consider interchangeable wands for flexibility in styling different curl types. A curling wand with adjustable barrel sizes adapts to various hair lengths and styles. Remember, select a wand that complements your hair texture, length, and curling goals. Proper material selection can improve curl longevity and minimize hair damage. Take time to evaluate these aspects for the best curling experience.
Pre-Styling Hair Preparation
Before creating those perfect waves with your curling wand, there’s essential preparation needed.
Importance of Dry Hair and Heat Protectants
Start with completely dry hair as damp locks can lead to heat damage.
Using a heat protectant is critical. It guards your hair against high temperatures when styling. Seek sprays or serums that coat and protect each strand. Heated tools can cause substantial damage, so don’t skip this step.
Prepare your hair by applying protectant evenly through damp, clean hair. Let it fully dry. This process ensures a safe curling session, minimizing potential harm.
Choose protectants that complement your hair type for best results. They not only shelter your hair from heat but also can add shine and reduce frizz.
Remember, wet hair and curling wands are a bad combo. Thoroughly dry your hair before applying any direct heat to prevent hair weakening or cuticle damage.
The Art of Sectioning Hair for Curling
Before using your curling wand, sectioning your hair is vital. It helps ensure even and consistent curls throughout your style. Proper sectioning can also save time and reduce damage by minimizing the need to re-curl sections. Here’s how to master the art of sectioning for the best curling results.
Vertical vs. Horizontal Sectioning Techniques
When it comes to sectioning, you can choose between vertical and horizontal methods, both of which offer different benefits and styles.
Vertical sectioning is where you divide your hair from top to bottom. This technique allows for looser, more natural-looking waves and is great for a casual, tousled look. It’s also easier to handle and works well for beginners learning how to curl hair with a curling wand.
Horizontal sectioning, on the other hand, involves dividing your hair across the back of your head from ear to ear. This method provides more volume at the roots and creates more uniform curls. It’s perfect for creating glamorous, Hollywood-style waves or a polished look for special occasions.
Begin by clipping up the top layers of your hair and work on the lower sections first. As you move up, adjust your clips and release new sections of hair. Remember to keep sections between 1-2 inches thick, depending on your hair’s density. Fine hair calls for smaller sections, while thicker hair can handle slightly larger ones.
With your hair neatly sectioned, you can proceed with confidence, knowing that each curl will receive the right amount of heat. Now you’re ready to curl your hair with your curling wand and create those effortless waves with precision and style.
 Curling Wand Temperature Tips
Proper temperature settings are crucial when using a curling wand, as they can vary substantially based on individual hair textures and the desired outcome.
Finding the Ideal Heat Setting for Your Hair Type
Each hair type responds differently to heat. Fine or damaged hair requires lower temperatures to avoid breakage, whereas thick or coarse hair may need higher settings for effective styling. Start with a low temperature and gradually increase if necessary, monitoring how your hair reacts.
Thin or fine hair typically works well at temperatures around 300-350°F. These settings help prevent heat damage while still allowing for a sufficient curl.
For those with medium thickness, aim for a heat range between 350-400°F. This provides enough heat for styling without overexposing your hair to potential harm.
Thick or coarse hair can handle heat settings from 400-450°F. The higher temperature helps in managing and maintaining curls in denser hair textures.
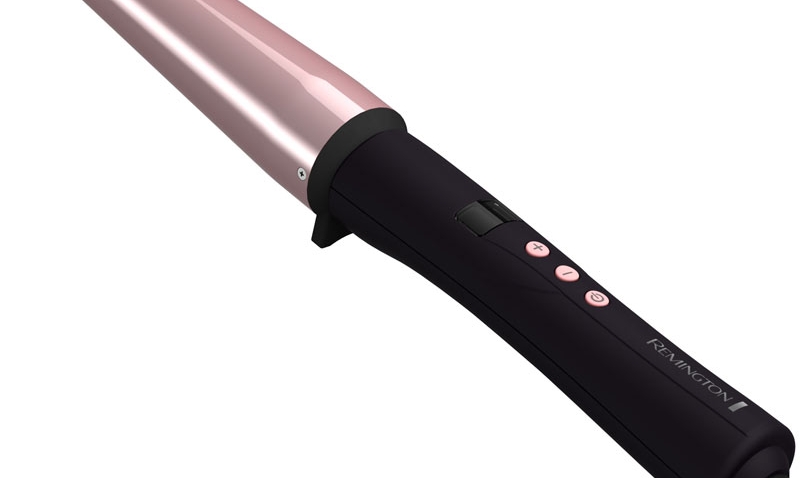
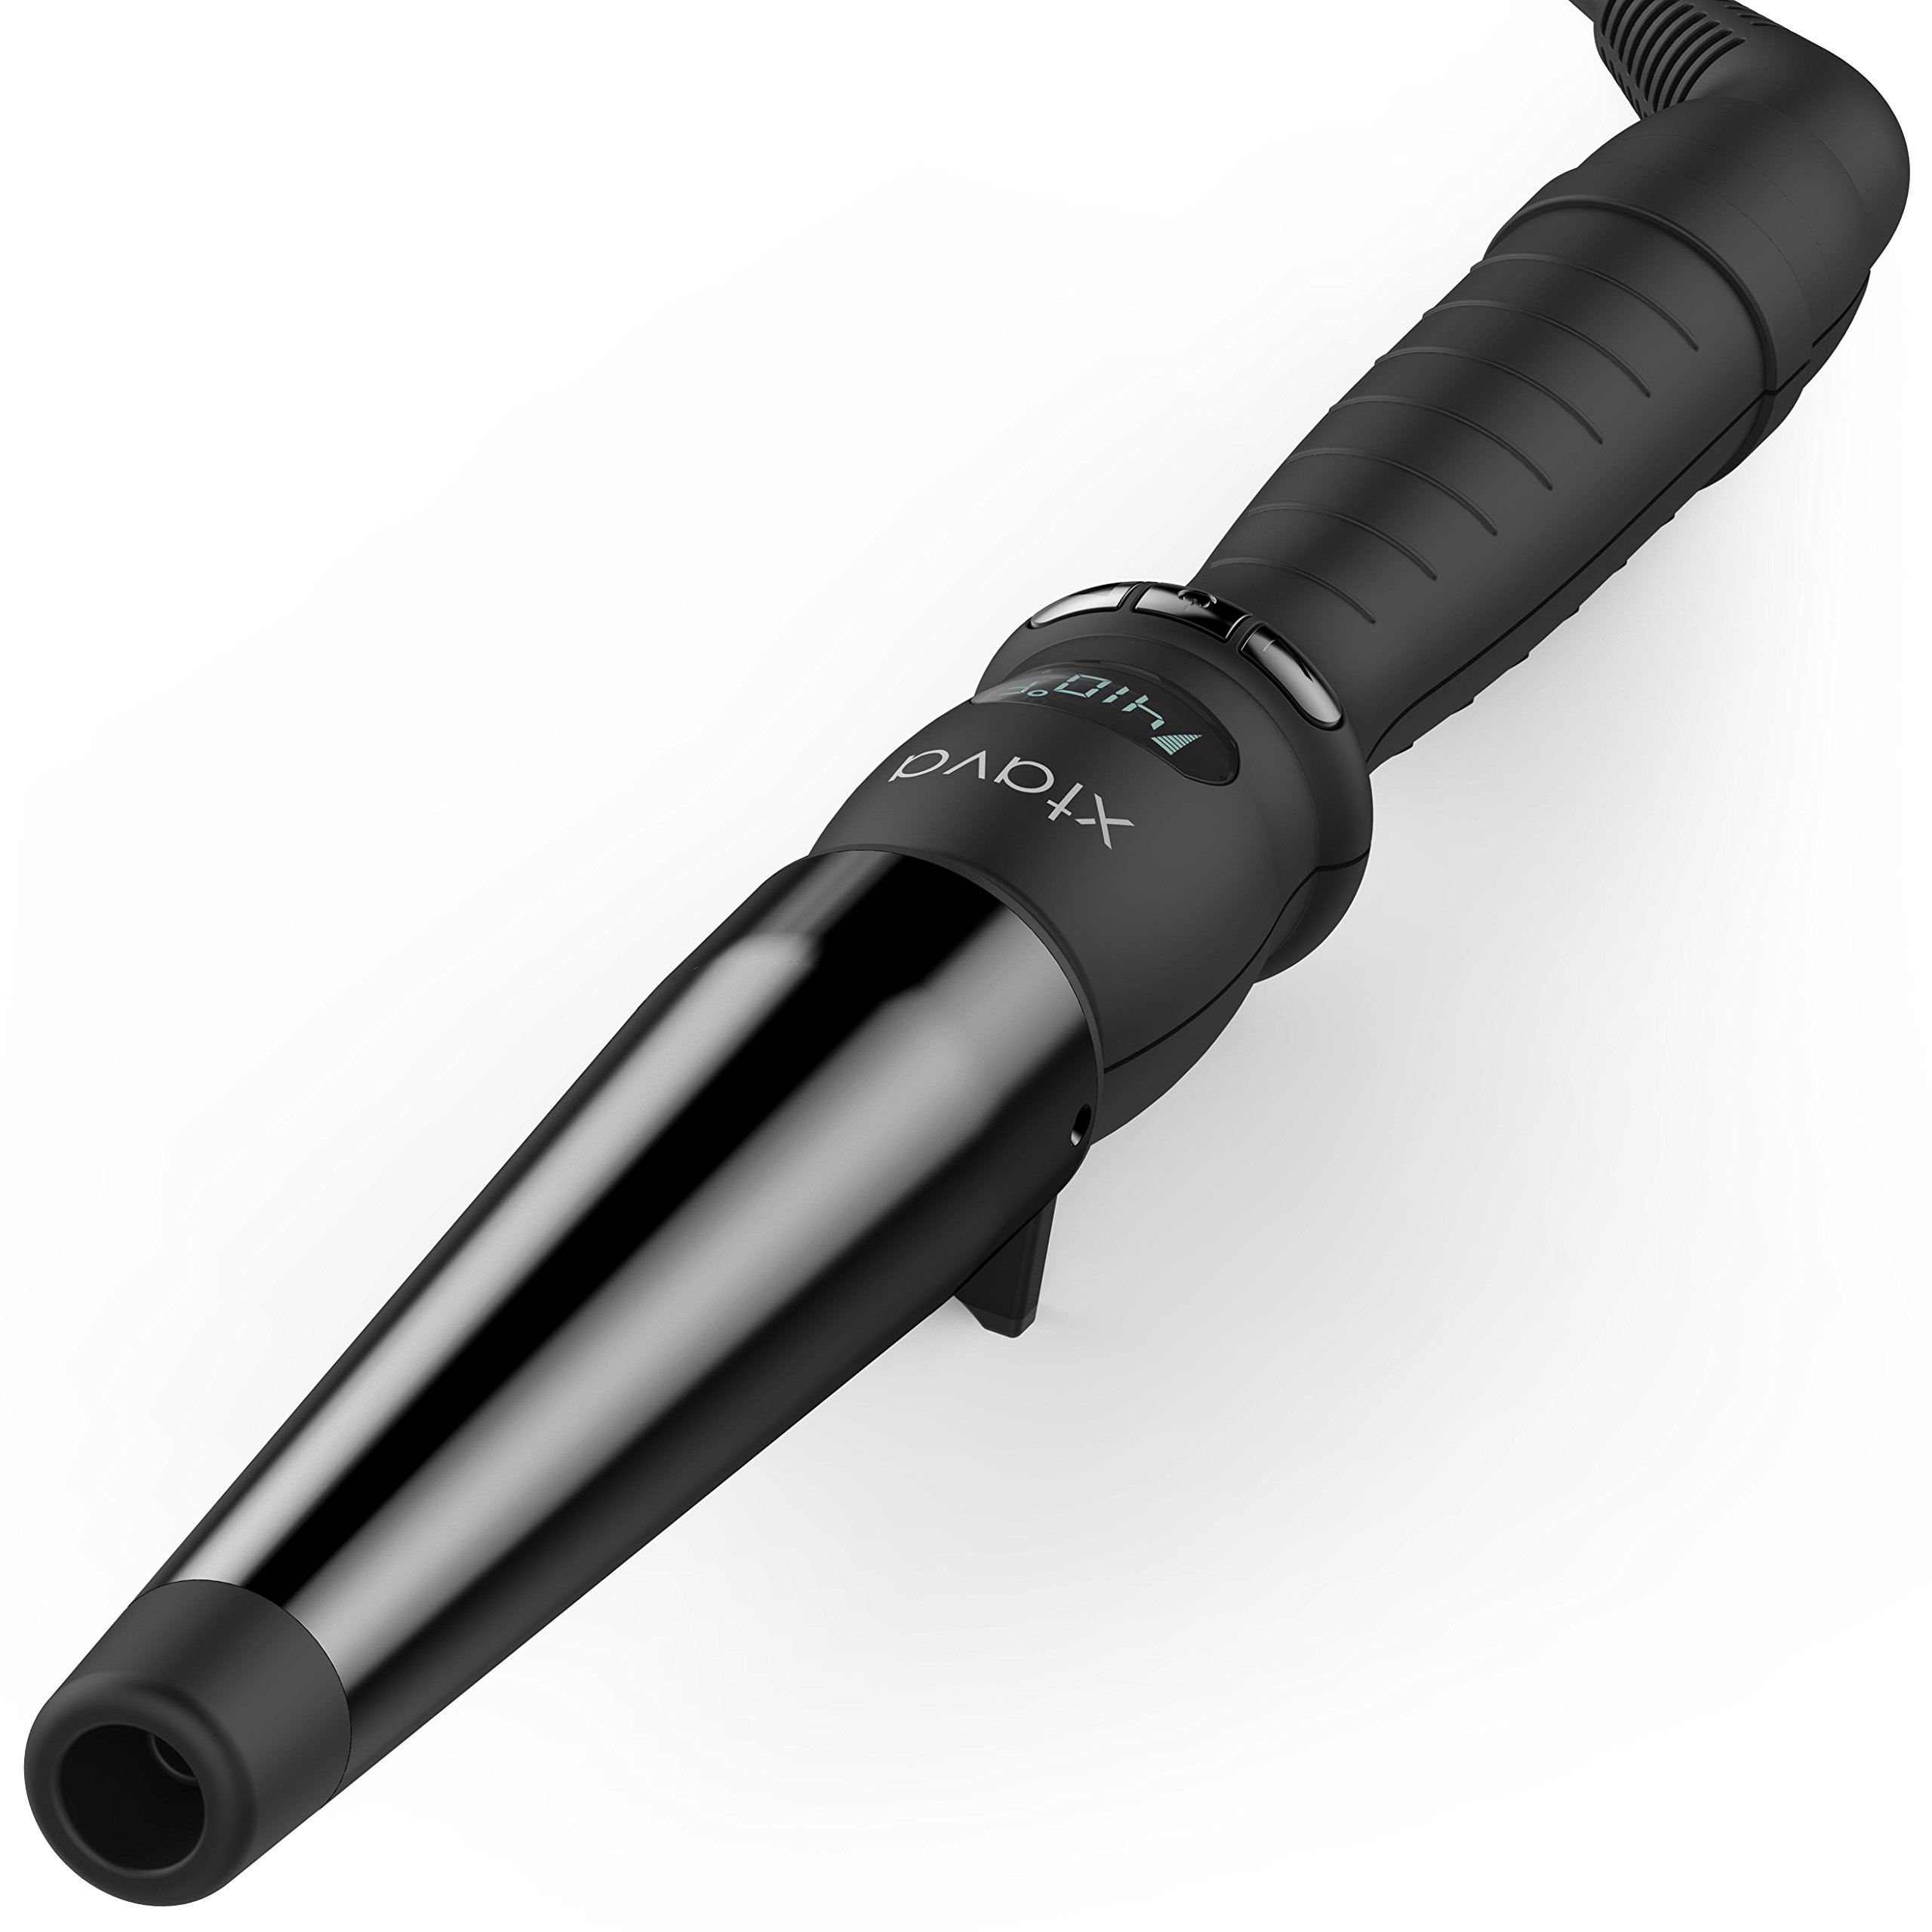
Regardless of your hair type, never surpass the maximum temperature a wand can reach as this can lead to severe hair damage. Opt for wands with adjustable settings to better control the heat based on your styling needs and hair health. Also, consider a wand with a digital display for precise temperature control.
Keep in mind that constant high heat can weaken hair over time. Always use the lowest effective temperature to achieve your desired curls, consistently protecting your hair’s integrity. By tailoring the wand’s heat to your hair type, you ensure a safe curling experience and healthier, glowing waves.
Curling Wand Techniques for Different Curls
Achieving diverse curls with a curling wand is straightforward with the right methods.
Creating Various Curl Types and Waves
To create different curls, adjust the curling wand’s barrel size. For tight spirals, use a small barrel. Swap to a larger one for soft waves. Wrap your hair closely around the barrel for defined curls. For beachy waves, leave more space between wraps. Experiment with both clamp-free and clamp-included wands for variety. Switching the direction of your curls adds texture to your style. Curling towards your face offers a vintage feel, while curling away brings a modern vibe.
Directional Curling for Face-Framing Waves
For flattering face-framing waves, directional curling is key. Start near your roots and twist outward, away from your face. This opens up your facial features and is ideal for front sections. On each side of your face, ensure curls go in opposite directions for symmetry. Remember to keep your wand pointed down during the process.
By alternating curls and paying attention to face-framing, you can easily create a dynamic, textured look that enhances your features and adds movement to your hair. Keep practicing to perfect your technique and tailor your curling approach to the specific look you’re aiming for.
Timing and Release Method for Perfect Curls
Achieving the perfect curl with a curling wand involves timing and technique. The amount of time you hold the hair on the wand directly affects the curl’s tightness and longevity. Let’s look at how to master this part of the curling process.
How Long to Hold the Curl and How to Let it Go
Knowing how long to keep your hair wrapped around the curling wand is crucial. Follow these tips for the best results:
- For fine or damaged hair, hold the wand for about 5-8 seconds. This minimizes damage while forming a good curl.
- If you have thicker hair, you might need to hold for 10-12 seconds. This allows the curl to set properly.
- Never exceed 15 seconds, as prolonged heat exposure can harm your hair.
After heating, let the curl cool slightly on the wand. Then, gently release the hair to avoid tugging or breaking the strands.
For a natural look, let the curl fall freely. For a tighter curl, catch the curl in your hand. Let it cool in your palm before releasing it. This ‘setting’ step helps the curl last longer.
Remember, the curling wand should always be used with caution. Too much heat or time can lead to damaged, brittle hair. Aim for a balanced approach to maintain hair health and achieve beautiful curls.
Use these timing and release techniques to refine your styling. With practice, you’ll find the perfect rhythm for your hair type and desired look.
Post-Curling Tips for Lasting Waves
After curling your hair, follow these tips to ensure your waves last longer and look great.
How to Cool and Set Your Curls Properly
To keep your curls intact, let them cool off before touching them. Catch each curl after releasing it from the wand and cradle it in your hand. Let it sit for a few seconds to cool and set. You can also clip your curls to your head and let them cool. This method is great for tighter, long-lasting curls.
Finishing Touches: Hairspray and Serum Use
Once your curls have cooled, apply a light mist of hairspray. This will help your waves hold their shape throughout the day. For extra shine and to tame flyaways, smooth a small amount of hair serum over the ends of your curls. Choose a lightweight product that won’t weigh down your waves.
By following these essential post-curling steps, your effortless waves will have a better chance of staying bouncy and beautiful all day long.
 Maintaining Your Curling Wand for Optimal Performance
Proper maintenance of your curling wand is essential for its longevity and effectiveness. Here’s how to keep it in top shape for those perfect curls every time.
Cleaning and Care for Long-Lasting Use
To keep your curling wand functioning efficiently, regular cleaning is necessary. Follow these simple care instructions:
- After each use, allow the wand to cool completely.
- Once cool, gently wipe the barrel with a soft, damp cloth to remove any residue.
- For stubborn buildup, use a non-abrasive cleaner designed for hot styling tools.
- Periodically check the cord for damage. If you see any fraying or wear, it’s time to replace your wand.
- Store your curling wand safely. Choose a dry place away from high humidity.
- Avoid wrapping the cord tightly around the wand. This can cause wear over time.
Remember, a well-cared-for curling wand will not only last longer but will also provide consistent performance. This means beautiful curls with every styling session. Implement these cleaning and care habits, and your wand will remain a reliable tool in your beauty arsenal.


