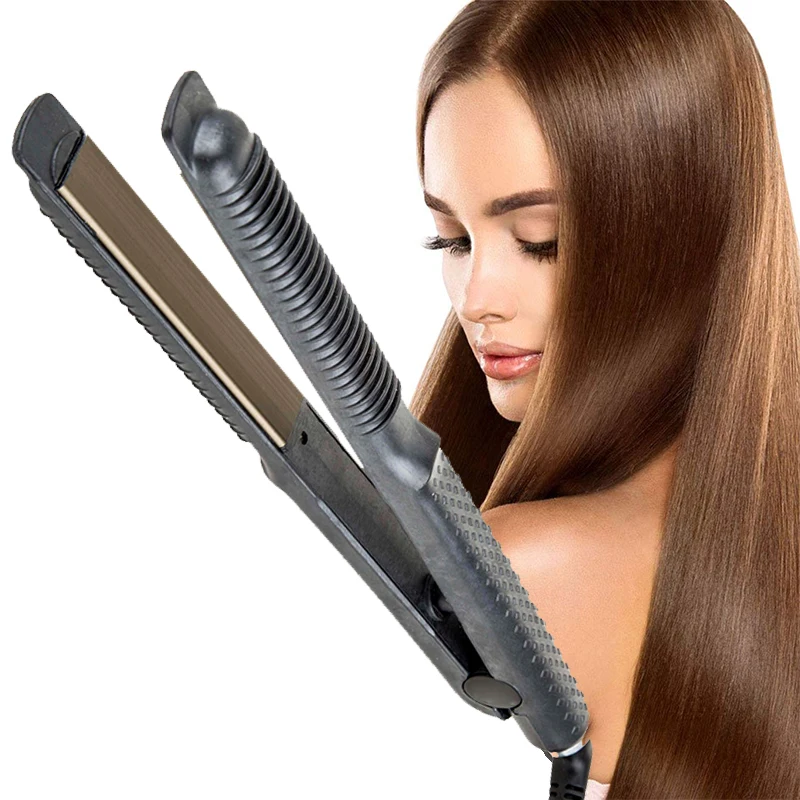
How can I curl my hair without a curling iron at home?
Introduction
If you’re looking to add curls to your hair but don’t have a curling iron on hand, worry not! There are several effective alternatives you can try using items commonly found in your home. From using hot tools like straighteners and bobby pins to harnessing the power of braiding, this guide will provide you with specific home styling techniques to achieve beautiful curls without a curling iron, allowing you to experiment with different curl patterns and styles.
How can I curl my hair without a curling iron at home?
Heat Styling Techniques
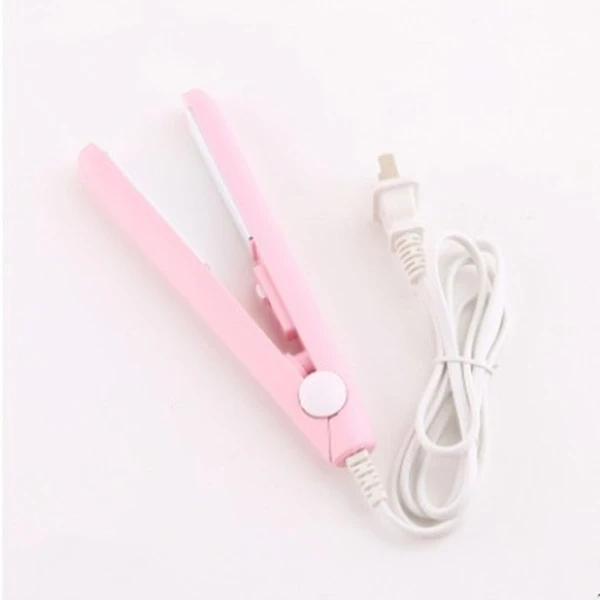
1.1. Using a Straightener
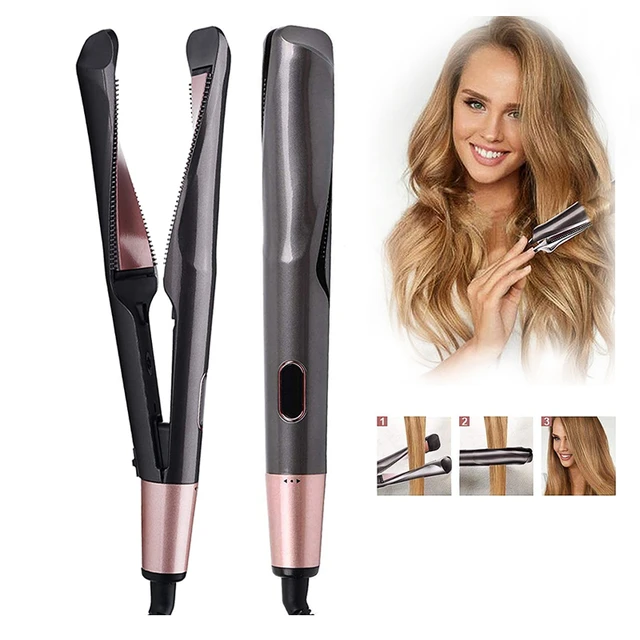
If you have a straightener or flat iron at home, you can create curls by using it in a twisting motion. Here’s how:
Divide your hair into small sections.
Take one section and clamp the straightener near the roots.
Twist the straightener away from your face, rotating it along the length of the hair.
Slowly slide the straightener down the twisted section, completing the curl.
Repeat the process with the remaining sections of your hair.
1.2. Curling with a Blow Dryer and Round Brush
You can also achieve curls using a blow dryer and a round brush, which can mimic the effect of a curling iron:
Start with clean, damp hair.
Divide your hair into sections.
Hold the round brush beneath the section of hair, and blow dry while rolling the brush away from your scalp.
Continue rolling and blow drying until the hair is dry.
Once dry, gently unravel the brush to release the curls.
Overnight Techniques
2.1. Braiding
Braiding your hair before bed is an excellent way to achieve natural-looking curls. Here are a few braiding techniques to try:
French Braids: Divide your hair into two sections and create French braids on each side. In the morning, unravel the braids, and you’ll have beautifully textured curls.
Rope Braids: Split your hair into two sections. Twist each section tightly and then twist them together, using your fingers to secure the ends. Sleep with the rope braid intact, and unravel it in the morning for loose waves.
Dutch Braids: Create Dutch braids on either side of your head and secure the ends. Sleep with the braids and release them in the morning for voluminous, bouncy curls.
2.2. Buns and Twists
Buns and twists are effortless techniques to achieve curls overnight. Here’s how:
Top Knot: Gather your hair into a high ponytail and twist it into a bun, securing it with a hair tie. In the morning, release the bun to reveal loose waves or curls.
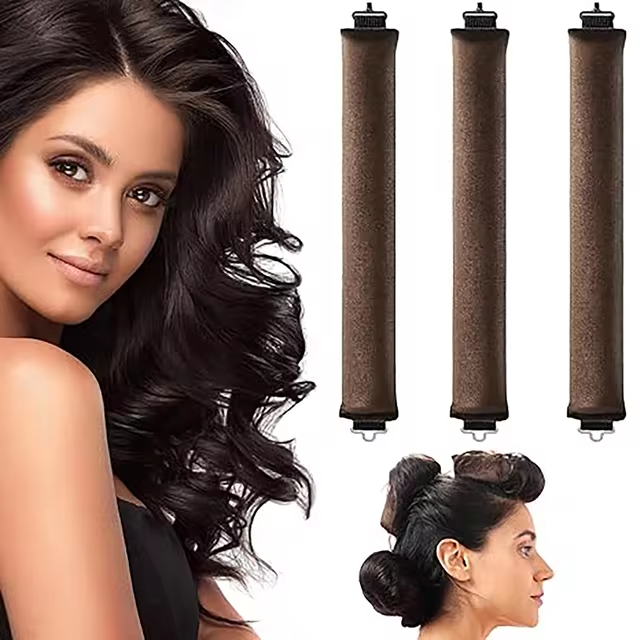
Sock Bun: Cut the toe off a clean sock to create a makeshift sock donut. Roll your hair around the sock, starting from the ends and tucking them under as you roll towards the base. Sleep with the bun, and in the morning, let down the bun to reveal voluminous curls.
Twisted Princess Leia Buns: Divide your hair into two sections. Twist each section into a tight bun on either side of your head and secure with bobby pins. Sleep with the buns and undo them in the morning for defined, retro-style curls.
Pinning Techniques
3.1. Pin Curls
Pin curls are a classic styling technique that can yield beautiful curls. Here’s how to create pin curls:
Divide your dry or slightly damp hair into small sections.
Take one section and twist it tightly from the roots to the ends.
Coil the twisted section into a flat curl against your scalp.
Secure the curl with bobby pins, crossing them over the curl to hold it in place.
Repeat this process with the remaining sections of your hair.
Allow the pin curls to set for a few hours or overnight before removing the pins to reveal your curls.
3.2. Rag Curls
Using fabric strips or old cloth, you can create rag curls. Here’s how:
Cut strips of fabric or cloth (old t-shirts work well) into long, narrow strips.
Dampen your hair slightly.
Take a small section of hair and wrap it tightly around a fabric strip, starting from the ends and rolling towards the roots.
Tie the ends of the fabric strip in a knot to secure the curl.
Repeat this process with the rest of your hair.
Let the rag curls set overnight, and in the morning, carefully remove the fabric strips to reveal bouncy curls.
Enhancing and Setting the Curls
4.1. Applying Product
To enhance and set your curls, applying the right product is essential. Consider the following options:
Curl-Enhancing Mousse: Apply a curl-enhancing mousse to damp hair before using any of the aforementioned techniques. This will help define the curls and provide hold.
Texturizing Spray: After releasing the curls, apply a texturizing spray or sea salt spray to add texture and hold to your curls. Scrunch your hair gently to distribute the product evenly.
4.2. Setting Spray or Hairspray
To help your curls last longer, finish your styling with a setting spray or hairspray. Lightly mist the hair to hold the curls in place and prevent them from unraveling throughout the day.
Tips for Successful Curling
5.1. Prepare Your Hair
Before attempting any of the curling techniques mentioned, it’s essential to prepare your hair properly. Start by washing and conditioning your hair with products suitable for your hair type. Apply a heat protectant spray or serum to shield your hair from heat damage. Additionally, make sure your hair is detangled and dry or slightly damp, depending on the technique you choose.
5.2. Experiment with Different Techniques
Every individual’s hair responds differently to different curling techniques. It’s worth experimenting with various methods to find the one that works best for your hair type and desired curl style. Some techniques may result in looser waves, while others may create tight curls. Don’t be afraid to try different methods or combinations to achieve the curls you desire.
5.3. Adjust the Timing
The length of time you leave the curls in place can influence the final outcome. Consider adjusting the timing based on your hair texture and the results you want to achieve. For looser waves, you may choose to leave the curls in overnight or for a shorter period. For tighter curls, leaving the curls in longer may be necessary.
5.4. Use Heat Protection
Whenever heat styling your hair, it’s crucial to use heat protection products. Apply a heat protectant spray or serum to minimize damage and help your curls hold their shape without subjecting your hair to unnecessary stress.
5.5. Allow the Curls to Cool
After using any heat styling technique, whether it involves a straightener, dryer, or hot tools, allow the curls to cool before handling them. This cooling period helps the curls set and holds their shape for a longer duration.
Conclusion
Achieving beautiful curls without a curling iron is possible with a variety of home styling techniques. Whether you utilize heat styling tools like straighteners or blow dryers, create curls overnight through braiding or buns, or explore pinning techniques like pin curls or rag curls, there are several methods to choose from. Enhance and set your curls with appropriate products such as mousse, texturizing sprays, and setting spray or hairspray. With a little creativity and experimentation, you can enjoy a wide range of curl patterns and styles, all without relying on a curling iron.


