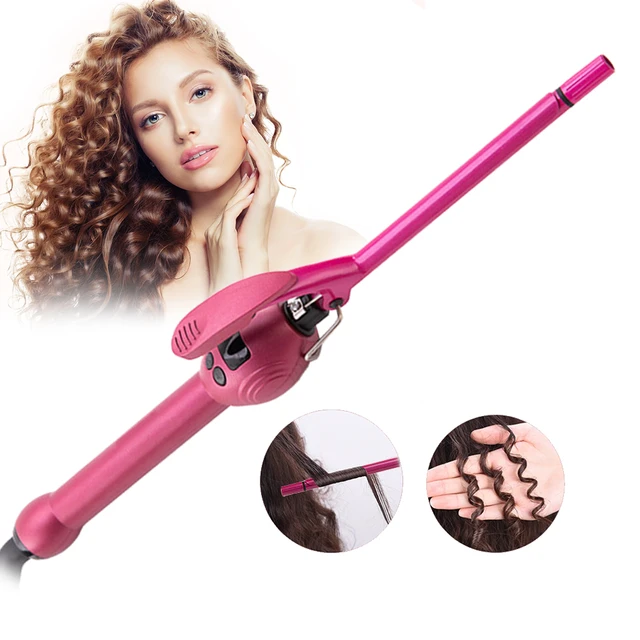
What is the best way to clean your curling iron?
Introduction
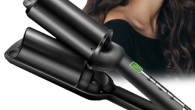
Keeping your curling iron clean is essential for both hygiene and the longevity of the tool. Over time, styling product build-up, dirt, and debris can accumulate on the curling iron’s surface, affecting its performance and potentially damaging your hair. In this guide, we will outline the best practices for cleaning your curling iron effectively. From unplugging and cooling down to using suitable cleaning agents, we will provide specific steps and tips to ensure that your curling iron remains clean and in optimal working condition. And it helps us curl our hair better.
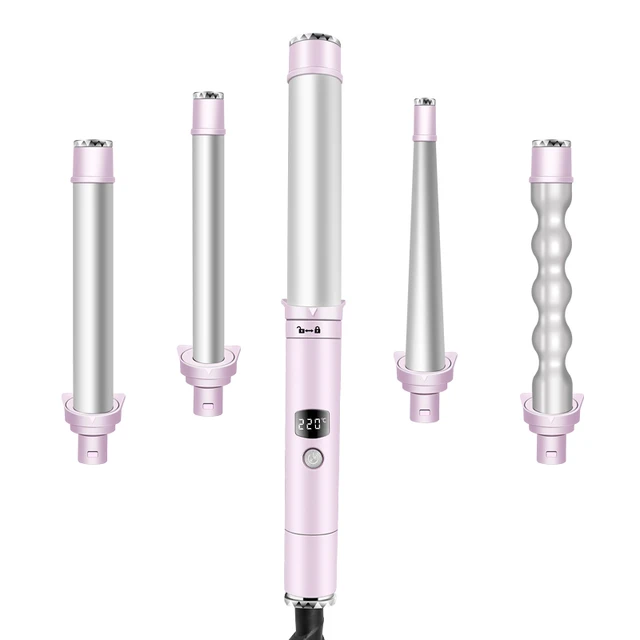
What is the best way to clean your curling iron?
Unplug and Cool Down
1.1. Safety First
Before starting the cleaning process, always unplug your curling iron and ensure that it has cooled down completely. This precaution protects you from the risk of electrical shocks or burns during the cleaning process.
Removing Hair and Debris
2.1. Wipe Off Excess Hair
Using a dry cloth or tissue, gently wipe off any loose hair or debris from the heated barrel of the curling iron. Make sure to do this while the curling iron is still warm, as it will be easier to remove any hair that has adhered to the surface.
2.2. Cleaning the Cool-Touch Tip
If your curling iron has a cool-touch tip, wipe it clean with a dry cloth or tissue to remove any residue or product build-up. Pay special attention to the area where the barrel meets the tip, as hair products may accumulate there.
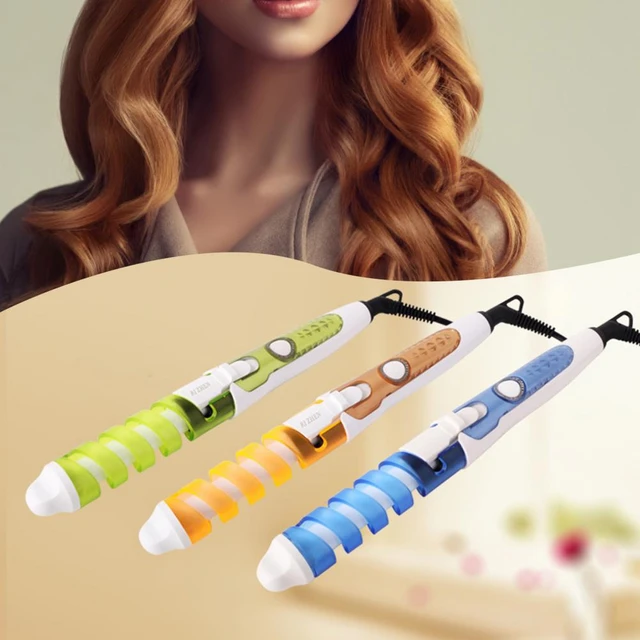
Preparing the Cleaning Solution
3.1. Suitable Cleaning Agents
To effectively clean your curling iron, you will need a cleaning solution that can remove styling product build-up without damaging the surface. Isopropyl alcohol, hydrogen peroxide, or warm soapy water are commonly used options.
3.2. Diluting Isopropyl Alcohol or Hydrogen Peroxide
If using isopropyl alcohol or hydrogen peroxide, dilute them with water to reduce their concentration. Mix equal parts of alcohol or peroxide with water in a small bowl or spray bottle. Ensure that the solution is well-mixed before proceeding.
3.3. Soapy Water Solution
If you prefer using warm soapy water, fill a bowl or sink with warm water and add a few drops of mild dish soap or shampoo. Mix the solution gently until it becomes sudsy.
Cleaning the Barrel
4.1. Applying the Cleaning Solution
Dip a cloth or sponge into the chosen cleaning solution until it is damp but not dripping. Gently wipe the barrel of the curling iron with the damp cloth, making sure to cover the entire surface.
4.2. Focusing on Stubborn Build-Up
For stubborn product build-up or stains, apply a small amount of the cleaning solution directly onto the affected area. Allow it to sit for a few minutes to loosen the residue before wiping it clean.

4.3. Cleaning Grooves or Textured Surfaces
If your curling iron has grooves or textured surfaces, use a cotton swab or an old toothbrush dipped in the cleaning solution to reach those areas. Thoroughly scrub the grooves or textured surfaces to remove any dirt or product residue.
4.4. Avoiding Abrasive Materials or Harsh Scrubbing
To protect the barrel’s surface from scratches, avoid using abrasive materials such as steel wool or harsh scrubbing techniques. These can damage the coating or finish of the curling iron.
Cleaning the Cord
5.1. Wiping the Cord
Use a damp cloth or sponge to wipe down the cord of your curling iron. Start from the base where the cord connects to the curling iron and work your way up to the plug end. Ensure that the cloth is only slightly damp to avoid excess moisture on the cord.
5.2. Drying the Cord
After wiping down the cord, use a dry cloth to remove any residual moisture. This step is crucial to prevent any potential electrical hazards and prolong the life of the cord.
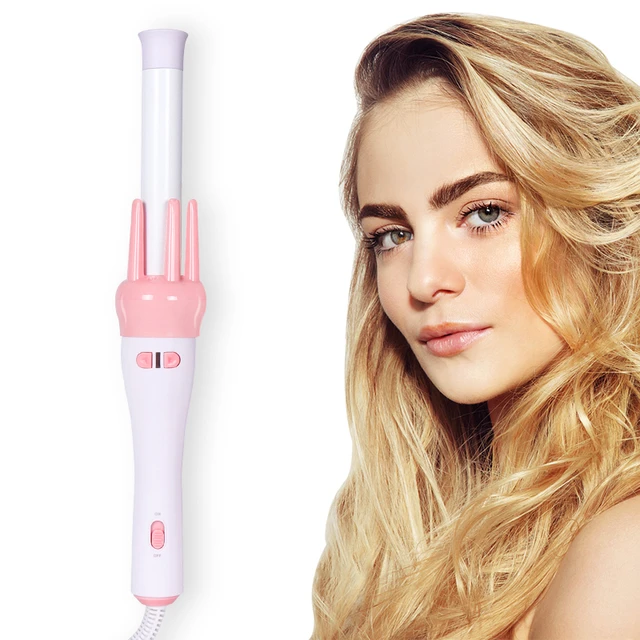
Maintaining the Heating Element
6.1. Removing Residue from the Heating Element
If residue or product build-up has accumulated on the heating element, use a cotton swab dipped in the cleaning solution to gently wipe away the debris. Avoid touching the heating element directly with your fingers to prevent burns.
6.2. Moistening the End of the Swab
For stubborn residue or build-up on the heating element, slightly moisten the end of the cotton swab with the cleaning solution. Apply gentle pressure as you wipe to remove any stubborn residue.
6.3. Ensuring Dryness
Once the cleaning process is complete, allow the curling iron and its heating element to air dry thoroughly before storing or using them again. This ensures that no moisture remains, which could cause damage or affect the curling iron’s performance.
Additional Tips and Suggestions
7.1. Avoiding Excessive Moisture
Throughout the cleaning process, it is important to avoid excessive moisture on the curling iron. Excess water or cleaning solution can seep into the internal components, potentially causing irreparable damage.
7.2. Cleaning Frequency
To maintain optimal performance, it is recommended to clean your curling iron regularly. Frequency depends on usage, but a general guideline is to clean it every few weeks or whenever you notice product build-up.
7.3. Store Properly
After cleaning and ensuring complete dryness, store your curling iron in a cool, dry place away from direct sunlight or moisture. Keep it in a heat-resistant pouch or case, if available, to protect it from dust, debris, and potential damage. Ensuring that the curling iron is in a healthy state can reduce damage to your hair.
Troubleshooting and Maintenance
9.1. Handling Stubborn Stains
If there are stubborn stains or residue that cannot be removed with the regular cleaning process, there are a few options to consider. One method is to use a paste made from baking soda and water, applied to the affected area and gently scrubbed with a soft cloth or sponge. Another option is to use a specialized metal cleaner or polish that is safe for use on heated surfaces. Follow the manufacturer’s instructions carefully when using these products.
9.2. Removing Heat Protectant Build-Up
Over time, heat protectant products used during styling can accumulate on the curling iron’s surface. These build-ups may be difficult to remove with regular cleaning methods. To tackle this issue, dampen a cloth with white vinegar and gently wipe the surface. The acidic properties of vinegar help break down and remove oily residues, leaving your curling iron clean and ready for use.
9.3. Regular Maintenance Checks
Aside from routine cleaning, it is essential to perform regular maintenance checks on your curling iron. Inspect the cord for any fraying or damage, and if there are signs of wear, consider replacing it to avoid potential electrical hazards. Additionally, check the heating element and ensure it heats up evenly and efficiently. If you notice any malfunctioning or uneven heating, it may be time to consult a professional or consider purchasing a new curling iron.
Conclusion
Keeping your curling iron clean is essential for maintaining both its performance and your hair’s health. By following these step-by-step instructions, you can effectively remove product build-up and debris from the barrel and cord, ensuring that your curling iron remains in optimal working condition for years to come. Regular cleaning, along with proper storage and maintenance, will ensure that your styling tool continues to deliver perfect curls while reducing the risk of damage or hygiene-related issues.


